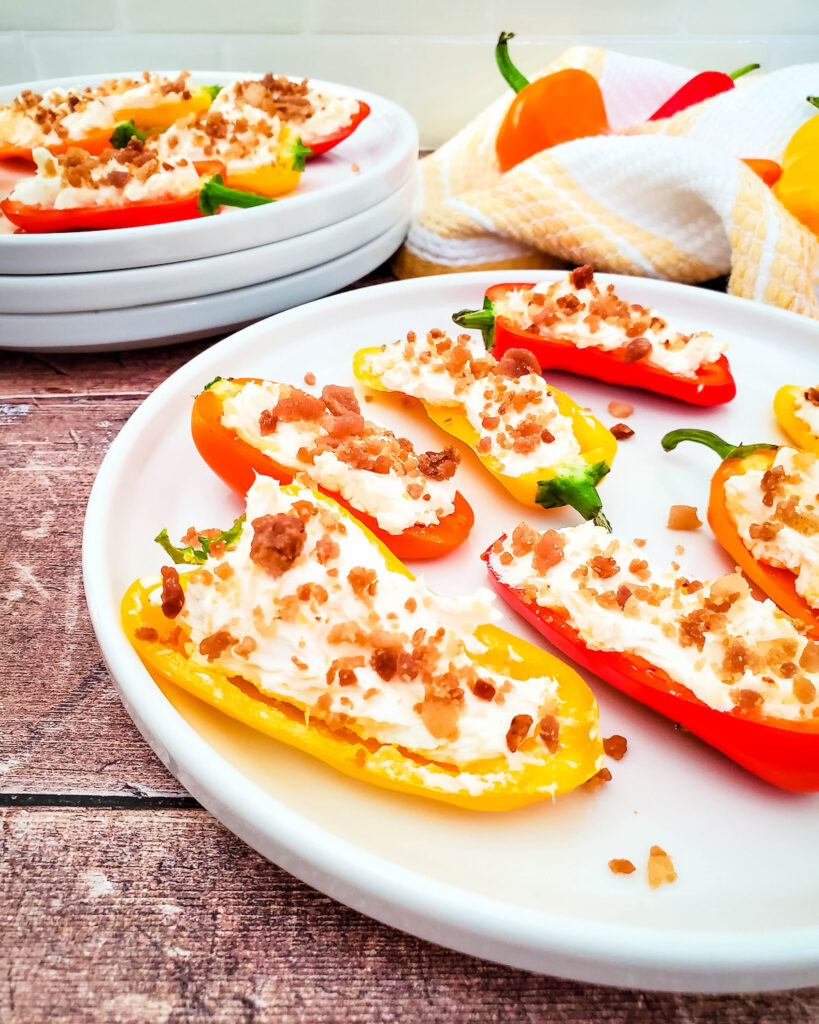
These Low-Carb Cheesy Bacon Stuffed Mini Peppers are a great way to enjoy peppers with a low-carb twist. Stuffed with cream cheese, bacon, and lots of cheese, these little bites are flavorful and perfect for parties or a quick snack. Serve them warm or at room temperature – the choice is yours!
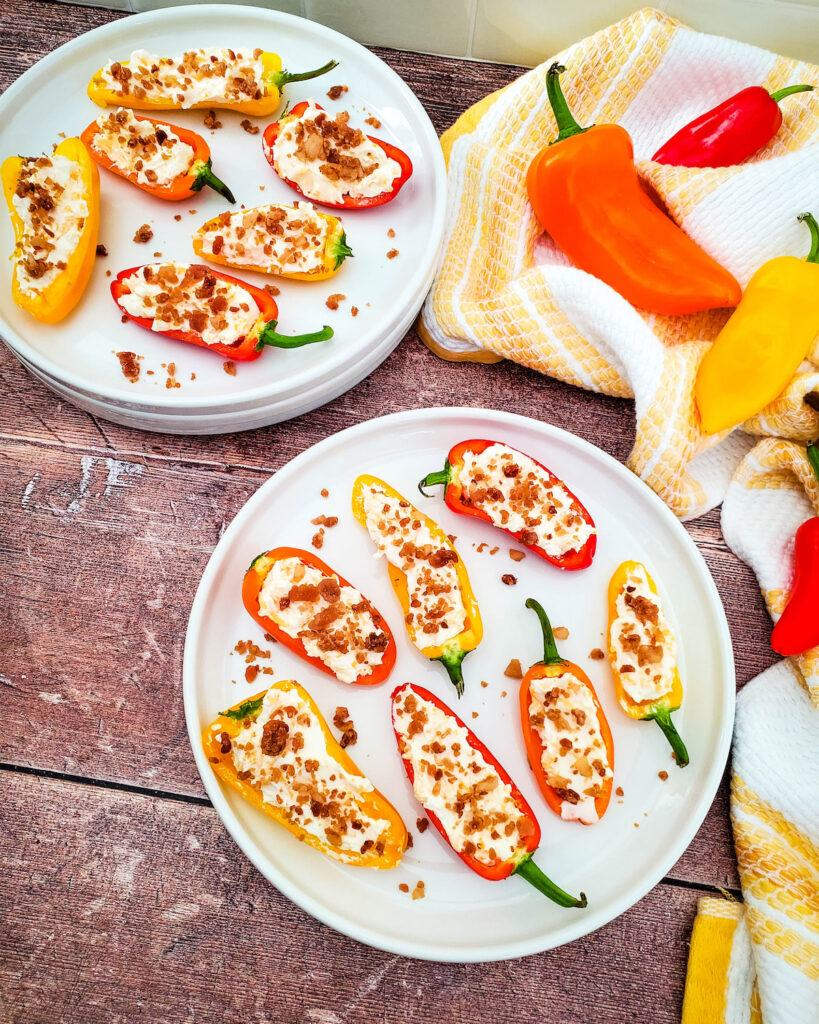
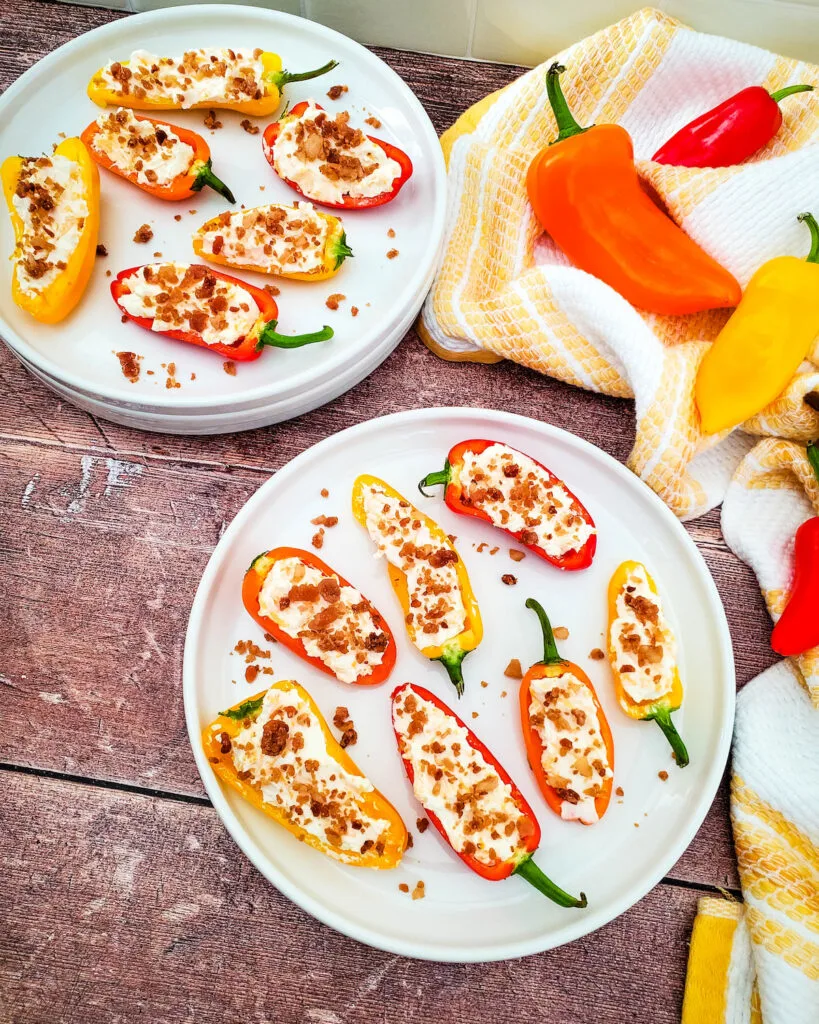
Table of Contents
Why You’ll Love This Recipe
- It’s easy to make and can be customized with your favorite ingredients.
- Plus, it’s full of flavor and the perfect combination of sweet and savory.
- These peppers also make a great appetizer or side dish, and they’re sure to be a crowd-pleaser!
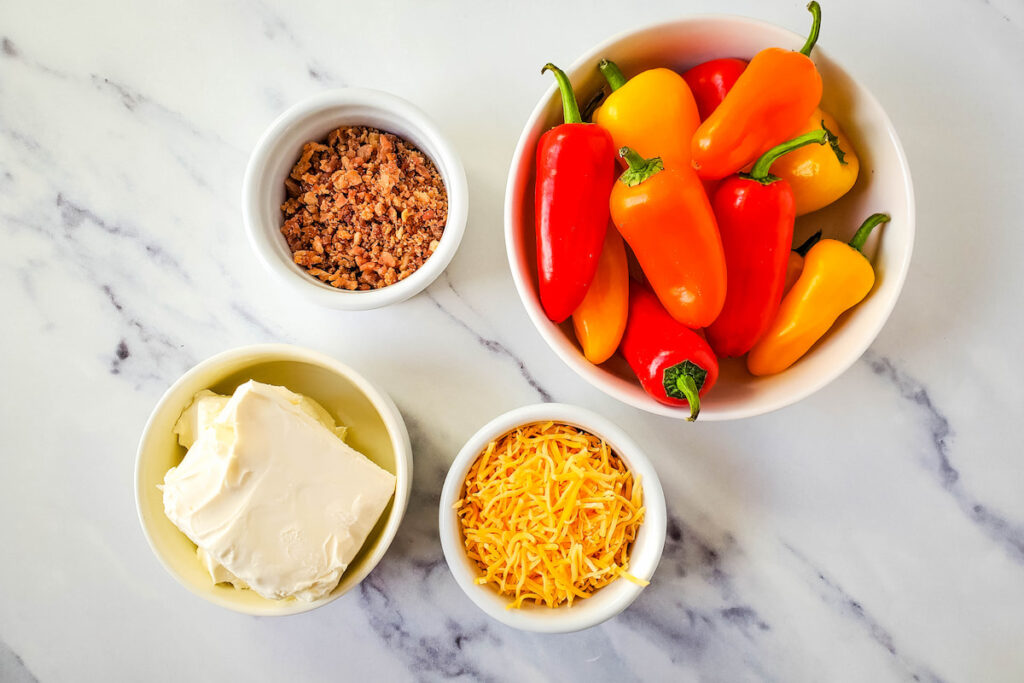

Ingredients
For this tasty low-carb snack, you will need a few simple ingredients. All of these fresh ingredients are easy to find at your local grocery store, so after one quick trip to the store, you will be ready to make this appetizer.
- mini sweet bell peppers
- cream cheese
- bacon pieces
- cheddar cheese
Equipment
You will need a few simple kitchen tools to make this easy recipe. All of these tools are commonly found in kitchens, which means that you don’t need anything special to make this meal.
- Small paring knife
- Cutting board
- Spoon
- Plate or platter
How to Make Low-Carb Cheesy Bacon Stuffed Mini Peppers
Making this easy appetizer or side dish is so simple. Just follow the instructions below and you will have a tasty keto-friendly snack in no time at all.

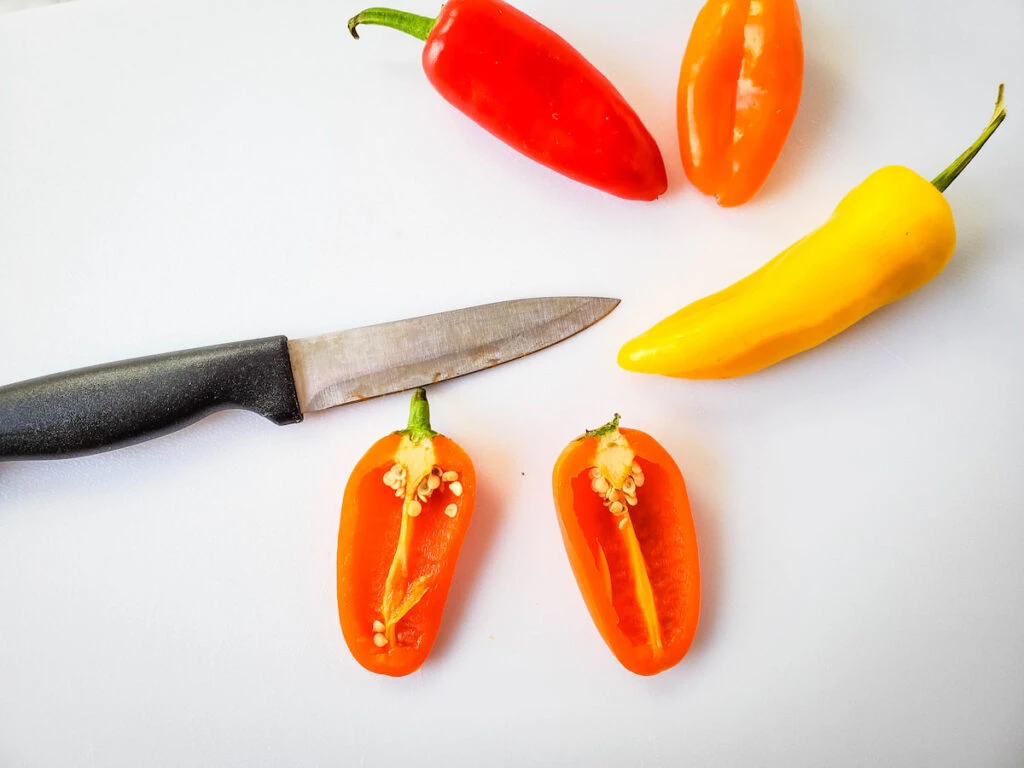
Step 1: Wash and cut the peppers
Cut the peppers in half lengthwise and remove any seeds.
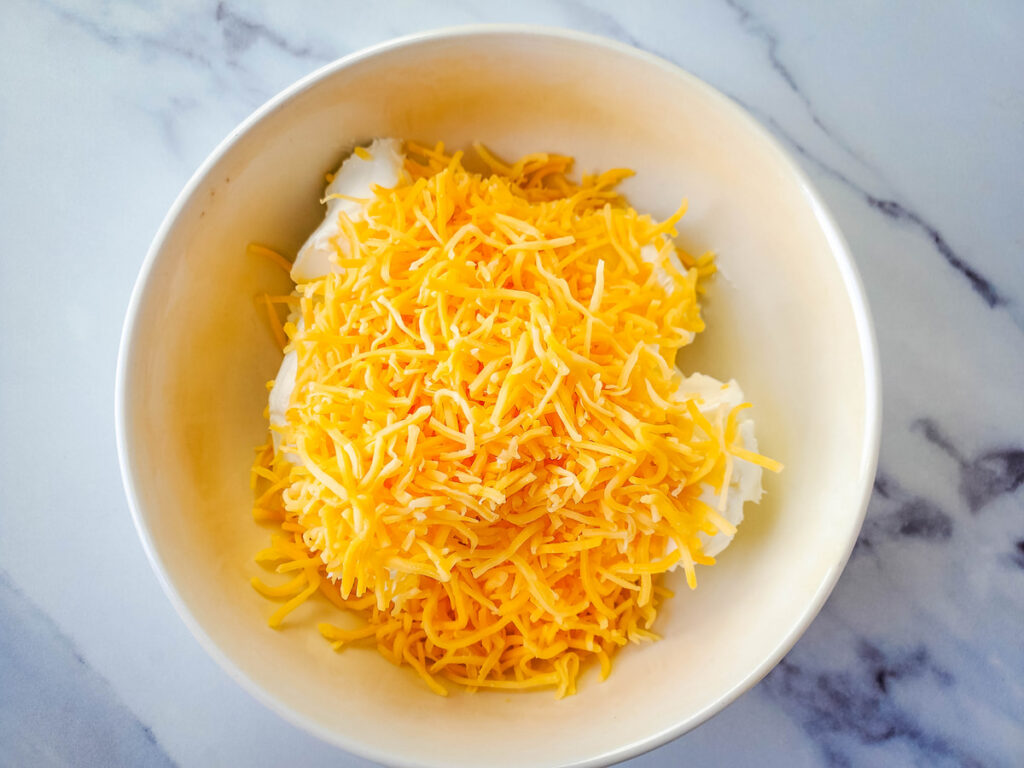
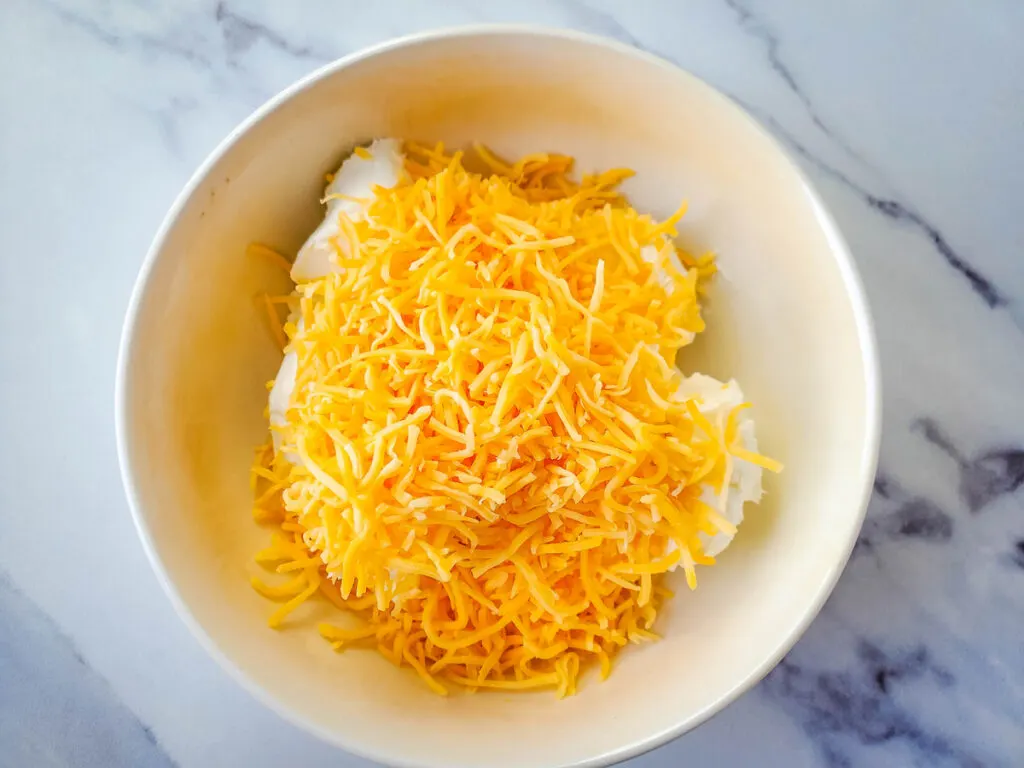
Step 2: Mix the cheeses together
Stir the cream cheese and cheddar cheese together in a small bowl until well combined.

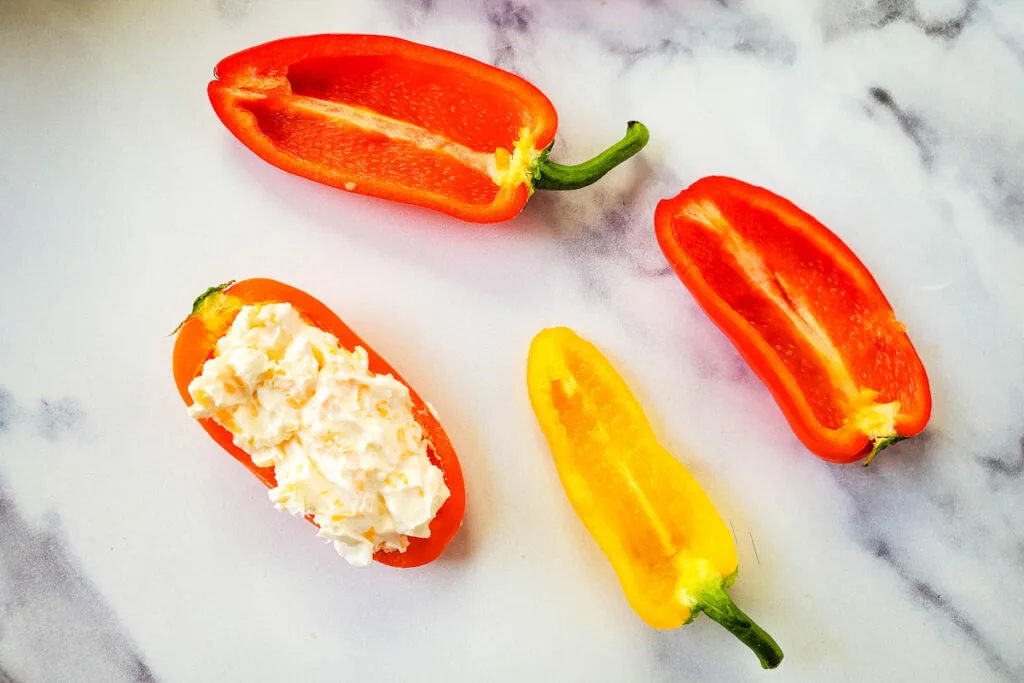
Step 3: Fill the peppers with cheese
Stuff each pepper half with the cheese mixture.
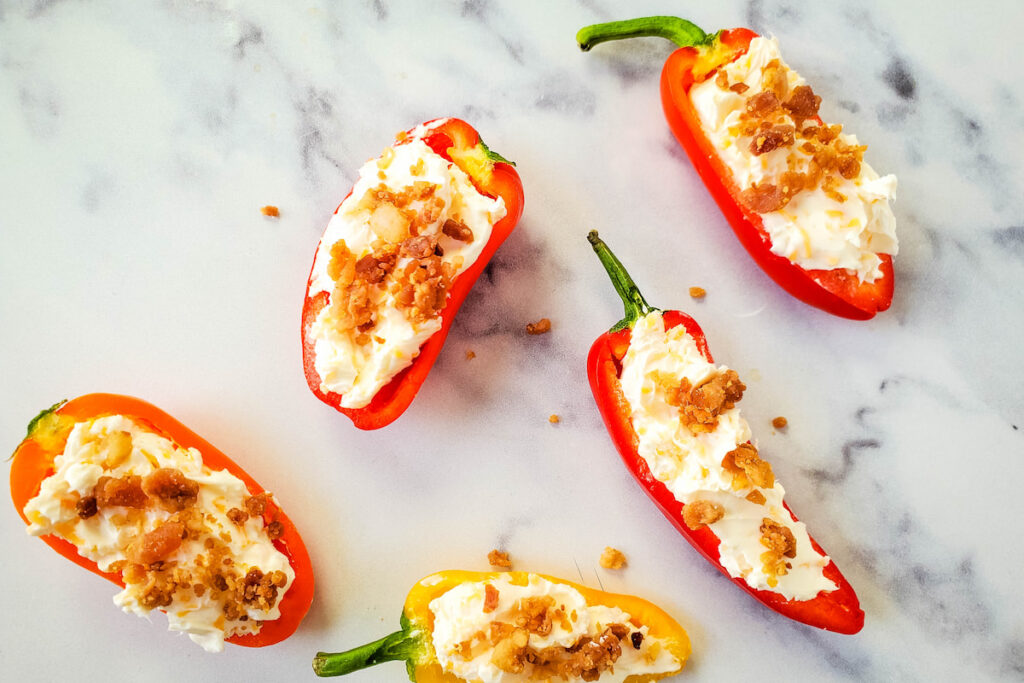

Step 4: Top with bacon pieces
Top each stuffed pepper with bacon pieces.
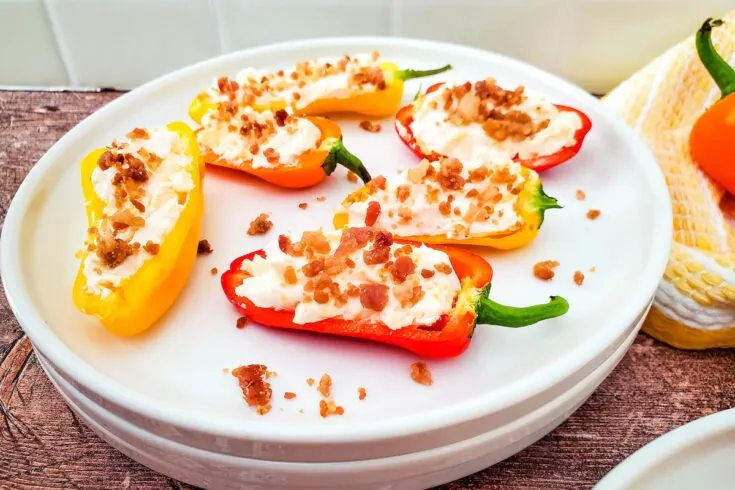
Step 5: Serve and enjoy
Enjoy right away, or cover and refrigerate until ready to serve.

Storage
While you can enjoy these Stuffed Mini Peppers on their own, you can also store them in the fridge for up to 3 days.
Pro Tips
Here are a few tips to help you make sure that this recipe turns out perfectly for you every time that you make it.
- If you prefer to enjoy these warm, you can pop them in a preheated oven at 350°F for about 10 minutes.
- If you want to add a little heat to the cream cheese, stir in some chopped jalapenos or also some crushed red pepper flakes to the cream cheese.
- Don’t have any cooked bacon on hand? You can use the pre-cooked brand from the store or real bacon bits.
- You can use any cheese that you have on hand, I like to use a sharp cheddar for the best flavor, but pepper jack, Colby jack, or Mexican blend will work.
- For extra flavor, mix in some green onions, chives, or your favorite herbs with the cream cheese.
FAQs
Do you have questions about this Low-Carb Cheesy Bacon Stuffed Mini Peppers recipe? Here are the answers to the most commonly asked questions for this recipe.
No, mini peppers are not spicy. They have a sweet and mild flavor that adds the perfect balance to this dish.
Unfortunately, no. This recipe doesn’t freeze well due to the cream cheese filling, and it will become soggy once thawed.
Absolutely, if you are making this for parties or your lunch, you can most certainly make this dish ahead.
Other Delicious Recipes You May Enjoy

Low Carb Cheesy Bacon Stuffed Mini Peppers
Diet-friendly and loaded with flavor, these raw stuffed peppers are so simple to make! Eat these as a snack, or serve them as an appetizer for parties.
Ingredients
- 1 (16oz) package mini sweet bell peppers, cut in half
- 8 ounces cream cheese, softened
- 1/4 cup bacon pieces
- 1/2 cup cheddar cheese, shredded
You will need the following items
- Small paring knife
- Cutting board
- Spoon
- Plate or platter
Instructions
- Cut the peppers in half lengthwise, and remove any seeds.
- Stir the cream cheese and cheddar cheese in a small bowl until well combined.
- Stuff each pepper half with the cheese mixture.
- Top each stuffed pepper with bacon pieces.
- Enjoy right away, or cover and refrigerate until ready to serve.
Notes
If you’d rather serve these as a warm appetizer, simply bake them at 350 degrees for 10 minutes.