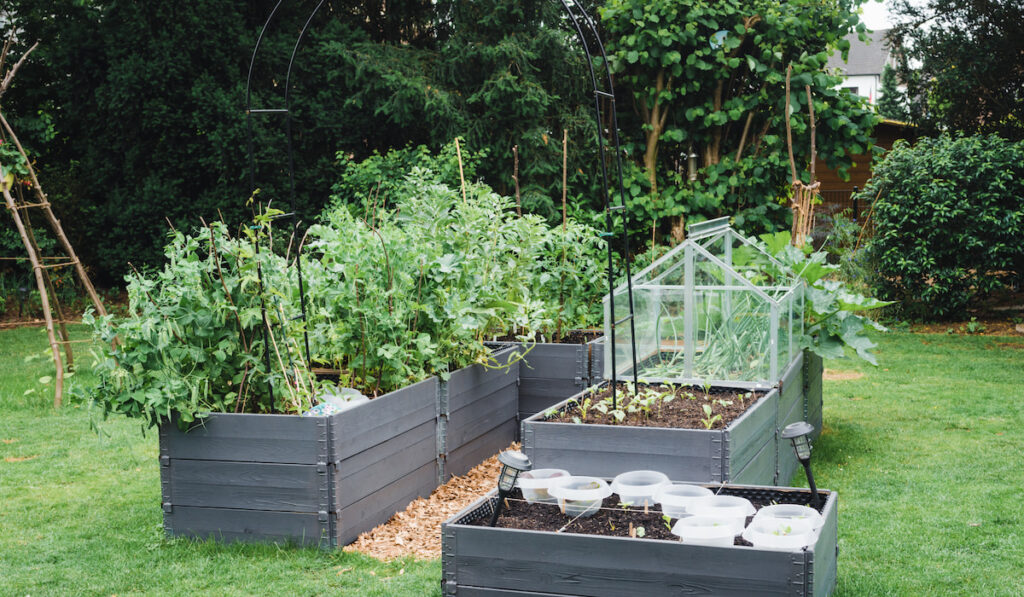
Besides the beautiful vegetables and plants growing in your garden, painting your raised garden is another way to add extra color to your garden. While some gardeners prefer to leave the wood to age naturally, you can paint your raised bed in any color or pattern of your choice.
Before you begin the task of painting your raised garden bed, there are a few things you need to consider. Top of that list is the type and quality of paint you intend to use, especially if you have a vegetable garden.

Since you grow these crops for consumption, you should consider getting paint that can withstand moisture or water and is non-toxic.
If you are looking for tips for painting raised garden beds, you are on the right page. Here are 9 tips for painting raised garden beds:
Table of Contents
Line Your Raised Bed Before Painting
As we mentioned earlier, when painting your raised bed, there is the risk of chemicals leaching into the soil.
When these chemicals get into the soil, they can contaminate your plants. To avoid this problem, use a raised bed liner before you paint.
A raised bed liner is a plastic lining you can place between the soil and the wood you want to paint. The raised bed liner acts as a protective barrier and reduces any risk of soil contamination. You can find a raised bed liner in your garden supply store.
Avoid using non-porous plastic liners for your raised bed. They retain too much water, and increased water retention discourages the growth of beneficial micro-organisms. Take extra care when placing the liner between the wood and soil, and remember to replace it when it degrades.
Paint Only the Raised Bed Exterior
When you paint your raised bed, you need to ensure the paint does not get to the soil.
Painting the interior of your raised bed could cause toxic paint chemicals to leach into the soil. As already emphasized, the chemicals from the paint can contaminate the soil and harm your plants.
Besides, if the paint gets absorbed into edible plants without showing signs, the consumers of those plants could be at risk. To avoid all of these, paint only the exterior of your raised bed.
Use Non-Toxic Exterior Paint
When painting your raised garden bed, ensure you use non-toxic exterior paint. Using non-toxic paint is safe for your plants, and it will also protect your wood. Exterior latex paint, for instance, will help seal the wood and not expose your soil and plants to any toxic chemicals.
One issue with using latex paint is the presence of VOC (volatile organic compounds). However, there are currently several brands that are eco-friendly and VOC-free.
These VOC-free paints do not contain any harmful chemicals that the soil will absorb. You can paint both the exterior and interior of your raised garden bed to make it last longer.


Try Milk Paint or Mineral Oil
In place of latex paint, you can work with milk paint or mineral oil.
Milk Paint
The use of milk paint has become quite popular both for indoor and outdoor projects. Although you might not have heard about milk paint, it has been around for a long time.
Milk paint is a non-toxic alternative for painting raised garden beds. Milk paint contains natural ingredients such as milk protein, organic pigment, and lime. The non-toxic nature of this paint makes it the perfect paint for your raised garden beds, especially those surrounding your edibles.
With milk paint, your raised bed gets a nice matte finish and a rustic look. Once you finish painting your raised bed with milk paint, you will notice some watermarks on the wood. The advantage of using milk paint is that it does not peel, chip, or fade.
After using milk paint for your raised bed, you can finish it with a layer of linseed or hemp oil. This finish will give your wood some extra protection from the elements.
Mineral Oil
Mineral oil is another non-toxic substance you can use in painting raised bed gardens. It is petroleum-based and is traditionally used for wooden kitchen surfaces and utensils.
Away from its traditional applications, mineral oil may also be used on the boundaries of a raised bed garden. Beyond improving the aesthetics of the painted surface, mineral oil also acts as a sealant. When applied on wooden surfaces with dents or pores, it fills them.
Mineral oil also keeps water out of the wood. This way, the wood is less prone to rot and will last for prolonged periods.
The water-blocking effect of mineral oil is pretty helpful in raised bed gardens. Remember that as you water your plants, some of the moisture might get to the pieces of wood and destroy them. But once they have been painted with mineral oil, you won’t have to worry about that.
Ensure the Raised Bed Is Empty
You need to ensure your raised garden bed is empty before you start painting. You would not want your plants to come in contact with any paint while painting.
If you already have plants in your raised beds, you either transfer them, remove them or only paint the exterior of the raised bed. This way, the edible plants in the garden will not be tainted by the paint, and they will remain safe for consumption.
Clean the Wood Before You Paint
Before you paint or repaint your raised garden bed, ensure the wood surface is cleaned appropriately. You may use a hose to wash off the dirt. Then after cleaning the wood, leave it properly dry before you paint.
You may also use a wire brush to remove any old paint if you are repainting.
Cleaning the wood of your raised bed is essential because it gives the paint a clean surface to stick to.
Use a Brush, Not a Sprayer
You should not be in a hurry when painting your raised bed. This is why paintbrushes are often recommended for the job is often recommended over paint sprayers.
Using a sprayer will ensure you finish painting on time. However, some of the paint may get on the soil and plants. And this may eventually kill your plants.
With a paintbrush, you have more control while you paint. Still, when painting with a brush, try to keep paint from dripping onto your raised bed.
Use a Protective Coat After Painting
Once you finish painting your raised garden bed, the next step is to apply a protective coat. Applying a protective coat gives your wood some extra protection from the elements and increases the lifespan of your raised bed.
There are several coats and sealants you can choose from. You can go natural and use beeswax to coat the paint or opt for a polyacrylic coat. Before you decide on any coats or sealants, check the ingredients to ensure they do not contain anything harmful to your plants.
Let the Paint Dry Before Returning the Plants to the Raised Bed
Once you finish painting your raised bed, leave it to dry completely before putting the plants back in the raised bed.
If you want to plant your raised bed, do it on a sunny day so that the paint will dry quickly. Avoid painting when it’s windy, or else the wind may drop some paint on other plants.
Resources:
- https://theraisedgardenbed.com/2020/09/17/can-i-paint-my-raised-garden-bed/
- https://organicnaturalpaint.co.uk/faq/the-best-nontoxic-exterior-paints-for-vegetable-gardens/
- https://everythingwhat.com/is-latex-paint-safe-for-gardens
- https://greenupside.com/should-you-line-a-raised-garden-bed-plus-what-to-use/
- https://www.seriouseats.com/mineral-oil-is-good-for-cutting-boards-and-knives
- https://www.hunker.com/13403990/mineral-oil-as-a-wood-finish