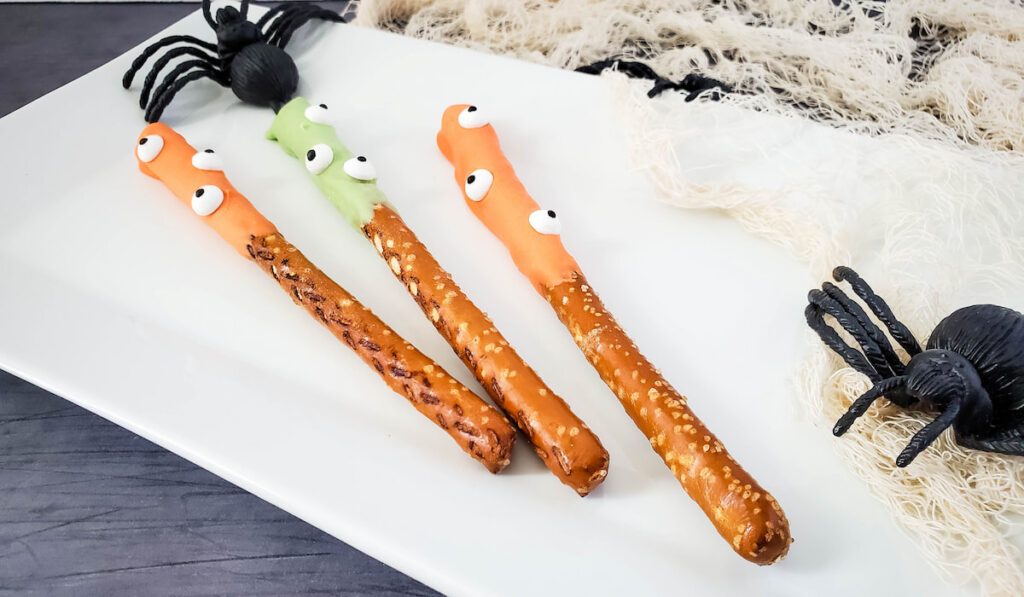
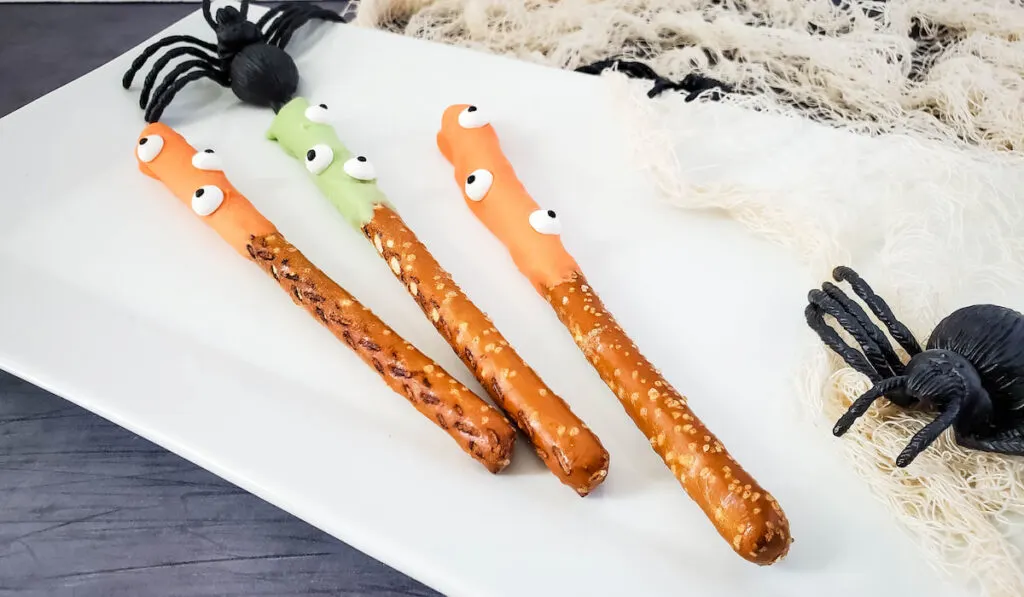
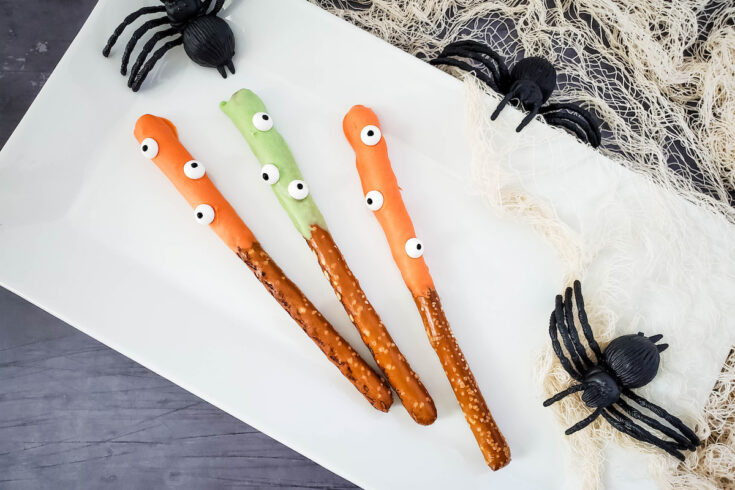
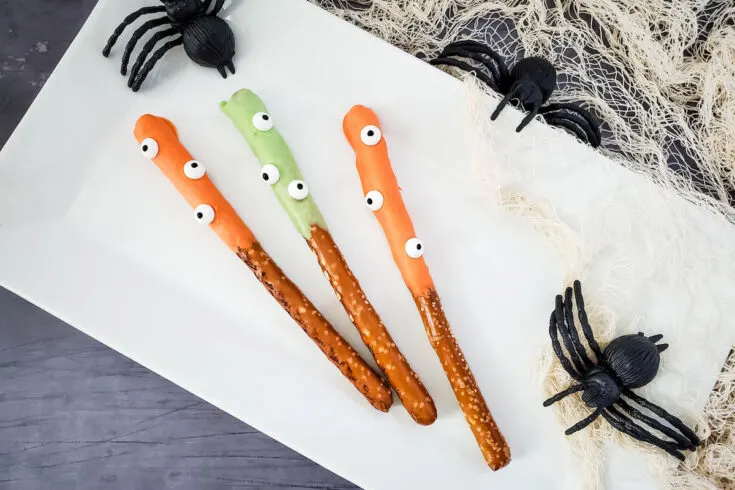
These Halloween Monster Pretzels are super easy to make and so much fun! The perfect snack for a Halloween party or just a fun treat for the kids.


What I love the most about making these Halloween pretzels is that my kids can get into the kitchen with me and personalize their own pretzels rods to enjoy later.
Table of Contents
Why You’ll Love This Recipe
- This recipe is easy to make and perfect for your Halloween dessert table.
- These dipped pretzels are easy to customize to fit the colors of your party.
- It is the perfect treat for after-school or lunch boxes.
- They are the perfect blend of sweet and salty.
Equipment Needed
You only need a few kitchen tools to help you make this Halloween pretzel rods recipe. Gather these tools and get ready to bite into one of these sweet and salty treats.
- large baking sheet or cookie sheet
- microwave-safe bowls
- parchment paper
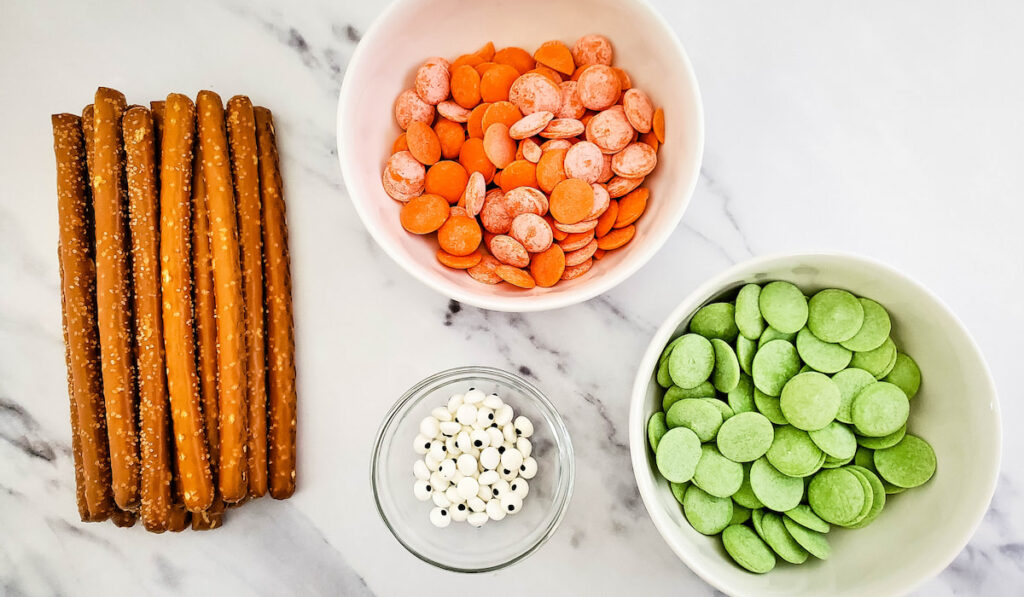

Ingredients
You only need a few simple ingredients to help you make this easy kid-friendly snack recipe. After one quick trip to the grocery store, you will be ready to make this tasty recipe.
- pretzel rods
- green candy melts
- orange candy melts
- candy eyeballs
Directions
Are you ready to make this delicious recipe? Follow the instructions below and you will have a kid-friendly Halloween snack for your next Halloween party. For a full list of steps and detailed information see the recipe card below.
Step 1: Line a baking sheet with parchment paper.
I like to use a cookie sheet with rimmed sides
Step 2: Place the candy melts in a microwave-safe bowl.
Make sure that the candy melts are in microwave-safe bowls
Step 3: Heat the candy melts in the microwave for one minute.
Stir well after the one-minute mark and return to the microwave in 30-second intervals if needed until the candy melts are completely melted and smooth.

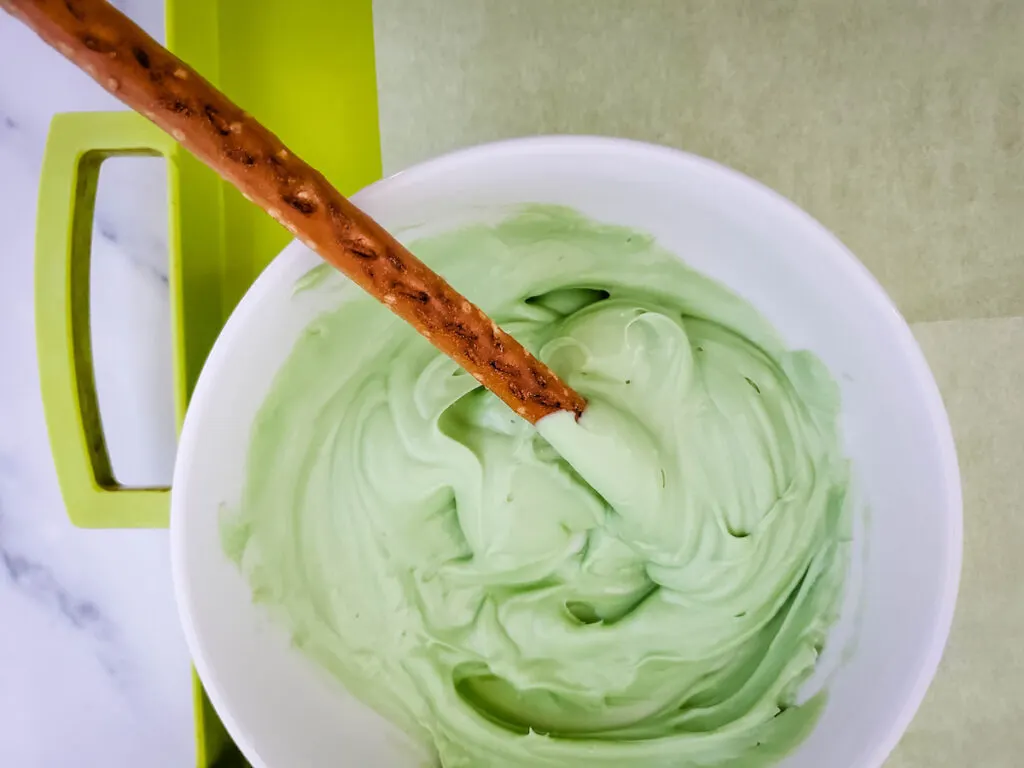
Step 4: Dip the pretzel rod into the candy melts.
Use a spoon to spoon the melted chocolate around the pretzel.
Step 5: Set on the parchment-lined baking sheet, and immediately place 3 candy eyeballs on the candy coating.
Make sure that you press the candy eyes onto the candy coating while it is still wet.
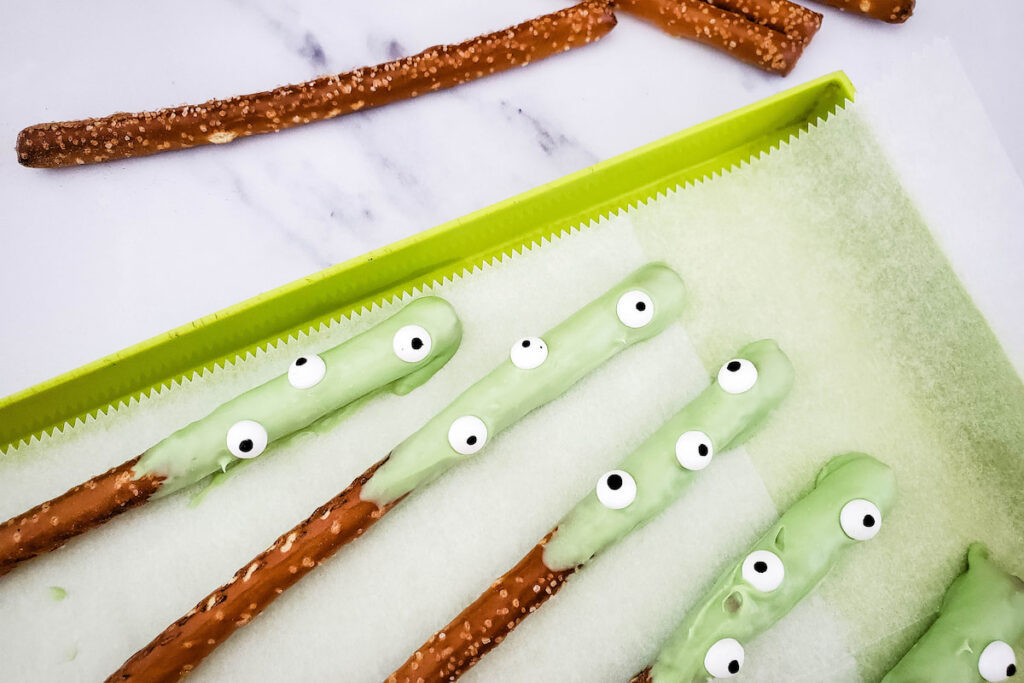
Step 6: Repeat until you have coated all of the pretzels.
Work quickly to prevent the candy from hardening back up.
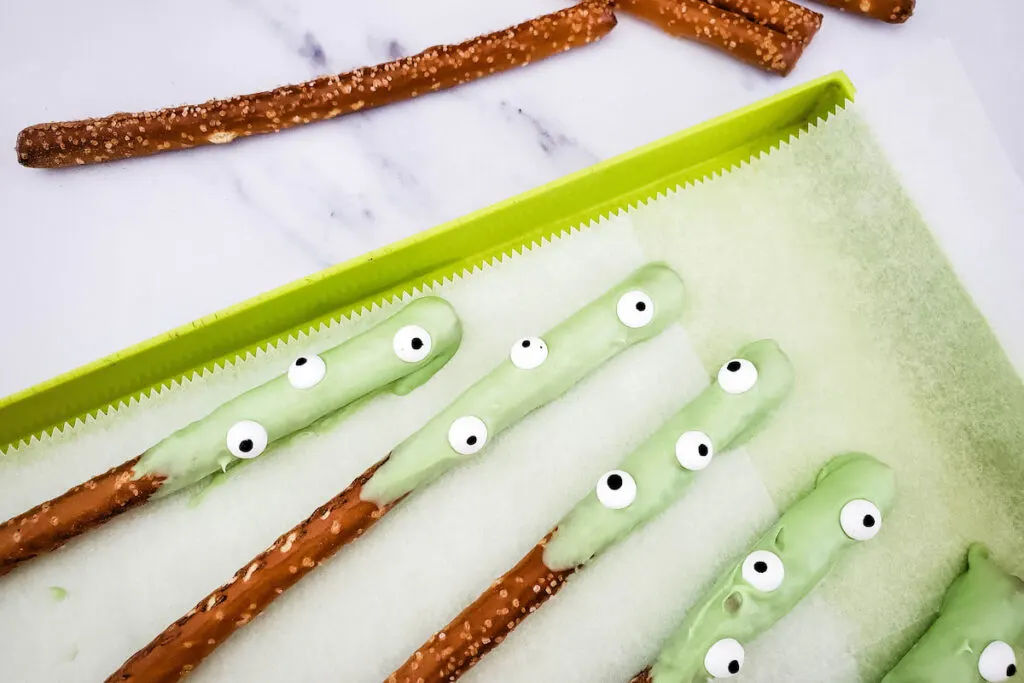
Step 7: Allow the candy coating to harden before serving
Allow setting for 1 hour so that the candy can harden. You may place it in the refrigerator to speed up the process.
Tips
Here are a few tips to help you make this Halloween pretzel recipe.
- If you find that the candy melts start to harden up before you dip all your pretzels then I recommend that you place your candy melts back into the microwave for another 30 seconds.
- While you are melting the candy be sure to watch it closely and stir it often, as it can quickly scorch.
- You can add more Halloween-themed sprinkles onto these pretzel rods if you want a little more flare to them.
- To keep the mess down if you have the kids in the kitchen helping you make these, then line your work surface with wax paper for easy clean-up.
- You can purchase colored candy melts online or at your local craft stores in the baking aisle.
Storage
Store these pretzels in an airtight container at room temperature for up to one week. I store them in a gallon-sized Ziploc bag on the counter. Just make sure that you keep them away from heat sources like the stove so that the candy coating doesn’t melt.
FAQ
Do you have questions about this monster pretzel rods recipe? Here are the answers to the most commonly asked questions for this recipe.
No, do not store these in the fridge for more than a few minutes to help harden them. Long-term storage in the fridge can make them soggy.
You can make these pretzels up to three days in advance.
To prevent a flat side on your pretzels you will need to place them vertically in a glass or cup while the chocolate hardens instead of laying them flat on a baking sheet.
Halloween Monster Pretzels
A fun Halloween treats to make - just melt some candy melts, and add candy eyeballs for a simple 5-minute treat the kids (and adults) will love!
Ingredients
- 18 pretzel rods
- 1 cup green candy melts
- 1 cup orange candy melts
- 54 candy eyeballs
Instructions
- Line a baking sheet with parchment paper.
- Add each of the candy colors to separate heat safe bowls.
- Heat for one minute, remove and stir. Heat for additional 30 second intervals, removing from heat, and stirring well between each heating session, until fully melted.
- Dip a pretzel rod into the melted candy, and use a spoon to help coat half of the pretzel.
- Set on the parchment lined baking sheet, and immediately place 3 candy eyeballs on the candy coating. Repeat until you have coated all of the pretzels.
- Allow to set for 1 hour so that the candy can harden. You may place in the refrigerator to speed the process.
Notes
Storage: Store in an airtight container