Homesteaders, preppers, and anyone who buys in bulk and has surplus produce understand canning and preserving benefits. The idea is to keep your surplus foodstuff fresh for longer by either storing, drying, or canning the produce to extend its shelf-life without losing any nutritional value.
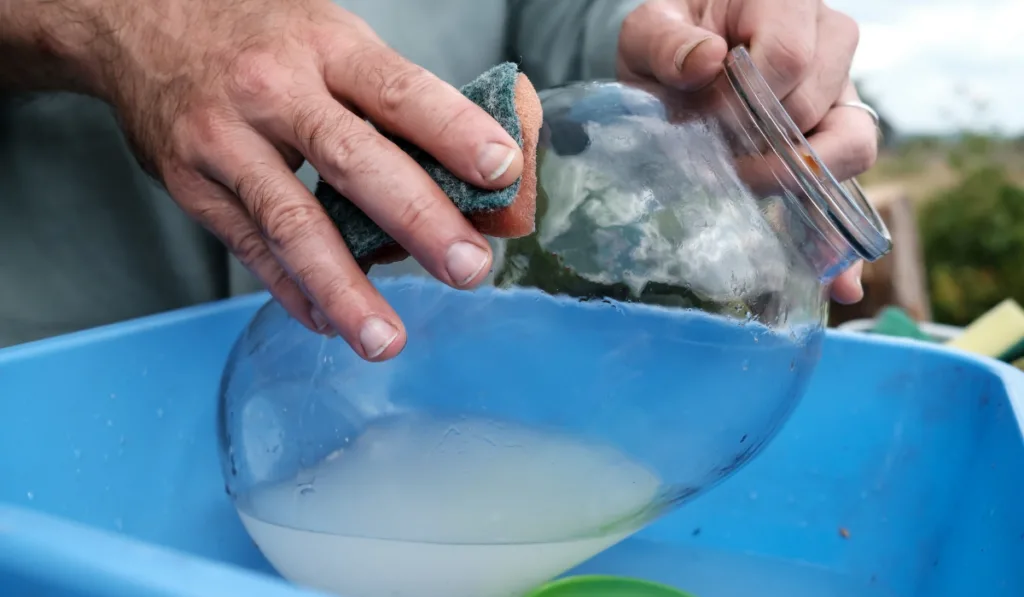
Canning jars need to be sterilized before each use to keep the food inside free from any germs and contaminants.
There are many tested methods of sterilizing your jars to make sure that they are safe for canning your surplus foods. Try one of these sterilizing methods on our list.
- The boiling water method
- The dishwasher method
- The oven method
- The microwave method
- The pressure cooker method
Canning and preserving methods can keep certain foods fresh and edible for up to 12 months if the correct procedures are used. For this process to be successful, all jars used for canning should be cleaned and sterilized before use.
Table of Contents
Choose Your Own Way To Sterilize Mason Jars From This List Of Methods.
The ways in which you can sterilize your mason jars can be done according to your personal preference, and there are several different techniques you can use to accomplish the task.
1. The Boiling Water Method
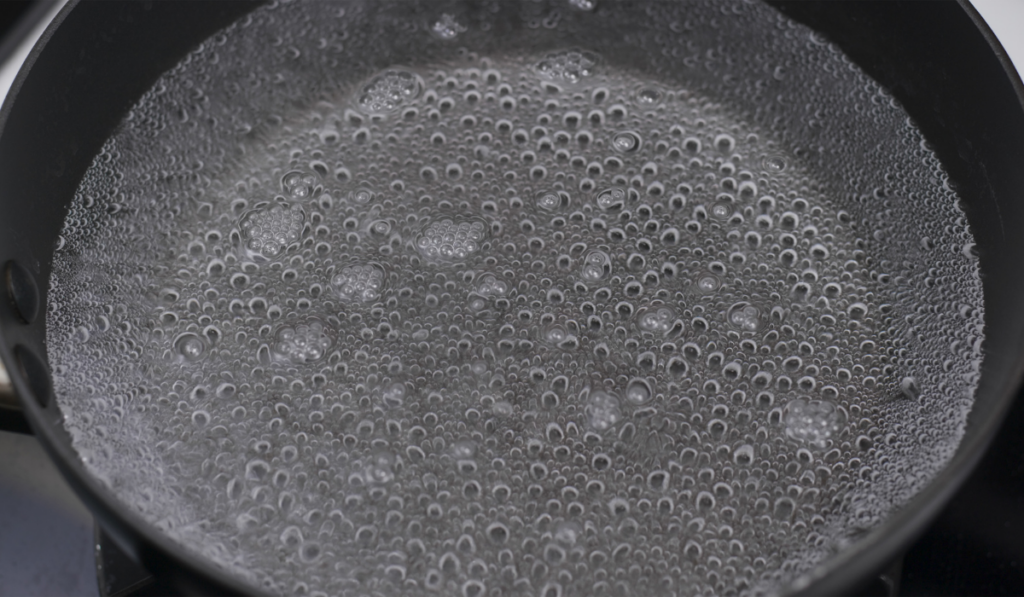

This method is an easy way to get started at home. All you need is either a big pot with a rack inside it or a water-bath canner.
- Wash the jars first, then place them into the pot of your choosing and cover them with hot water. Ensure that the jars have a bit of space in the pot, so don’t pack them too tightly.
- Leave the water to boil for about 15 minutes until steam emerges from the pot, then turn off the heat on the plate on the stove and leave the jars in the hot water.
- Only remove the sterilized jars from the water when you are ready to use them, then turn upside down onto a dry clean towel to dry.
- The jars should still be hot when you fill them with the food you will preserve.
2. The Dishwasher method

A dishwasher is a fantastic machine to sterilize jars, especially if it has a ridiculously hot setting.
- Fill your machine with cold jars, neck side down. Don’t pack them too tightly together.
- Run the dishwasher on its highest temperature setting.
- Once the cycle is complete, leave the jars in the machine with the door closed. Make sure to keep in the heat and to keep the jars hot. Only remove the jars once you are ready to fill them with your produce.
3. The Oven Method
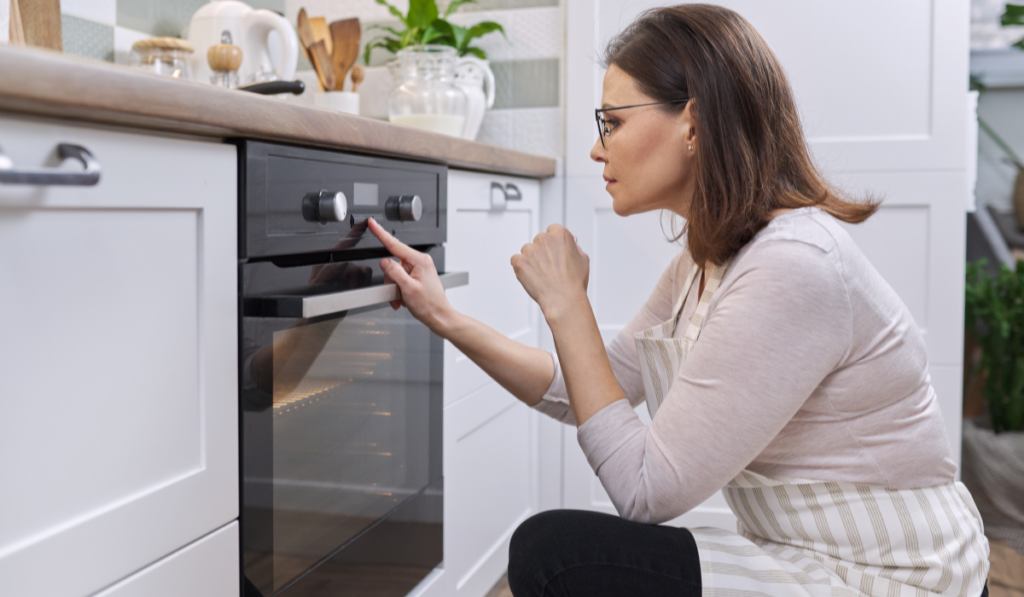

This method is another easy way to sterilize your jars, especially for the home user. This is one of the best ways to make sure that your jars are thoroughly sterilized and germ-free.
- Heat your oven to a temperature of 275 degrees Fahrenheit (135 degrees Celsius). Be careful not to increase the heat as the jars may crack!
- Lay a clean cookie sheet over each oven shelf – They need to be level to prevent the jars from breaking and ensure even heating.
- Place the clean jars on the shelves; they will need to be placed lying down on their sides but keep a gap between each one.
- Close the oven door and keep them in the oven at the same heat for about twenty minutes.
- When the prescribed time is up, remove the jar from the oven while wearing oven mitts and place it on a heatproof mat.
- Fill the sterile jars while they are still hot with hot food.
4. The Microwave Method
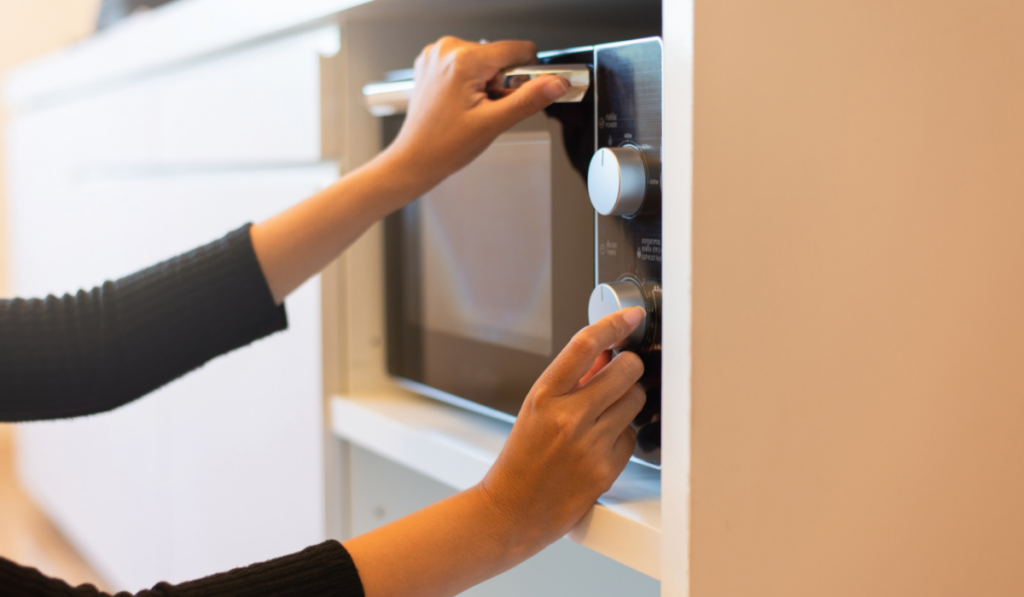
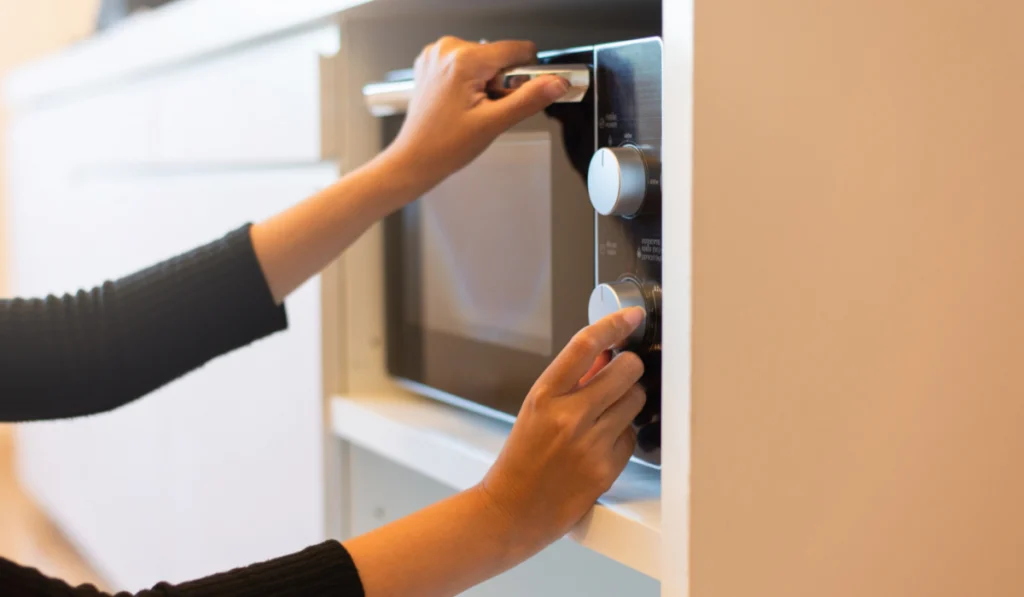
Make sure to remove any metal bits from the jars before starting this method.
- Clean the jars, and while they are wet (not dripping), place them in the microwave.
- Microwave on high heat for around thirty seconds to one minute, depending on the size of the jars.
You might want to have the food ready to place in these jars before microwaving them, as they will be sterilized and ready to go in a few minutes.
5. The Pressure Cooker method


This method does come with a warning – follow the manufacturer’s instructions carefully when using the pressure cooker for any reason to avoid mishaps in the kitchen!
Having said that, sterilizing your jars using a pressure cooker is a great way to know that your jars are completely clean and sterile.
- Clean your pot with detergent first to remove any dust and leftover debris.
- Add 2 inches (5cm) of water to the pot.
- Place the rack into the pot.
- Fill the jars with water and stand on the rack.
- Lock the cooker lid in place but do not place the regulator weight on the vent pipe.
- Turn the heat on the stovetop to high and wait for the steam to start venting from the pipe.
- Place the regulator weight onto the pipe and wait until the pressure reaches 15psi.
- Set the timer to 30 minutes, turn off the heat, and wait for the pressure to drop.
You can remove the sterile jars from the pot but do not empty the water until you are ready to use the jars – the water will keep them sterile until use.
Why Should I Sterlizise Mason Jars?
Sterilizing your jars before canning is probably the most crucial step of the process. Your jars need to be clean and free from any left-over food particles or dirt, as this will contaminate the food which you are trying to preserve.
Relying on the canning process to sterilize the jars is not the way to go. The canning process is a method used to preserve the food on the inside of the jar by using canning methods and not sterilizing the jars during the preserving process. Expecting the canning process to sterilize the inside of the jar is not good practice.
Before sterilizing the jars, wash each one with a washing detergent to remove any left-over dirt – remember that washing on its own does not sterilize the jar. The sterilizing process must be followed each time you are going to can any food items.
The best way to preserve any food is to get rid of any oxygen that can cause yeast, bacteria, or fungi to grow inside the jar and spoil the food which you are trying to preserve. This means that you need a sterile environment to preserve your food and prolong its shelf-life.

Should I Sterilize New Jars?
Buying a brand-new jar from a supplier does not necessarily mean that it is clean and sterile, even if it does come wrapped in plastic or with a sealed lid. Any jar that is going to be used for preserving food must be sterilized first.
Jars that have been standing on a shelf in the store can be contaminated by all sorts of germs, fungi, and bacteria from being handled by so many people in the store. The same applies to jars that you buy online. They could all be covered in dust, dirt, and debris.
Check all glass jars before each use for chips and cracks in the glass, as these could cause the jars to explode during the canning process.
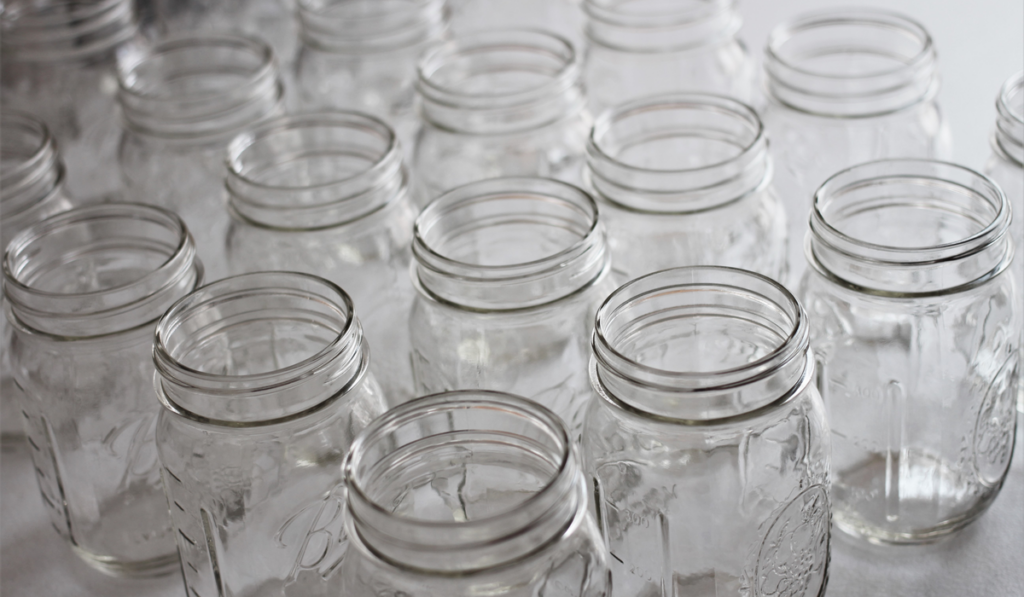
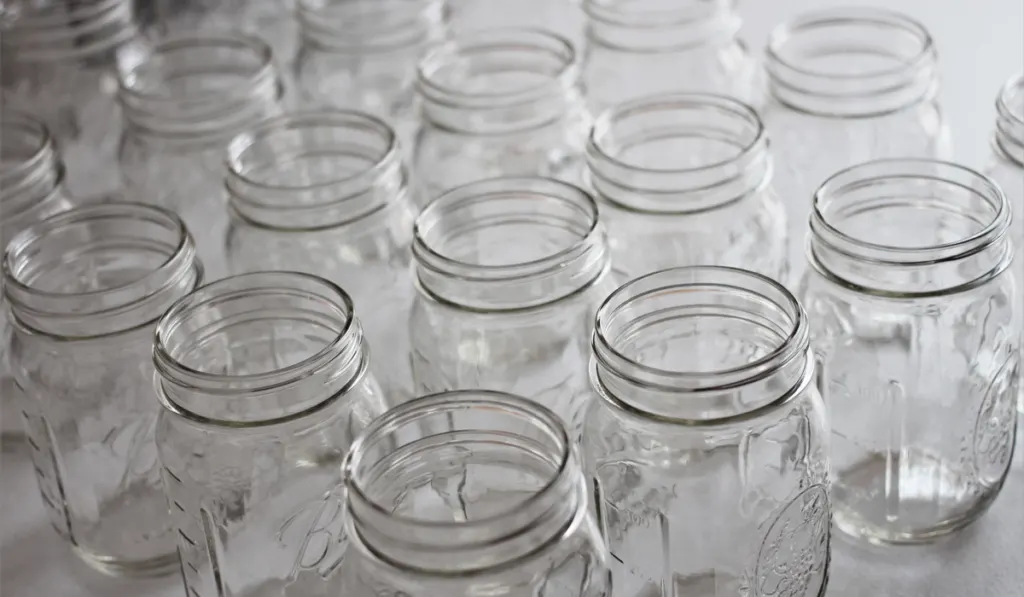
Which Jars Are Best For Sterilizing?
Try and buy the best jars that you can afford and that are designed for canning. Try not to use old jars that you have lying around the kitchen. The best jar for canning most foods is the mason jar.
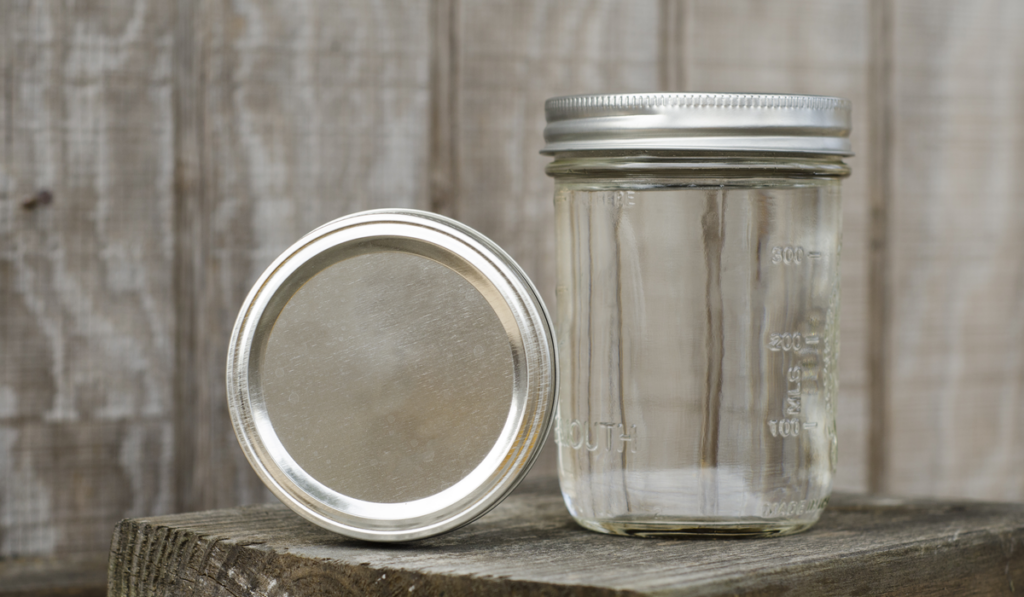
The mason jar is a patented glass jar specifically designed for home canning to preserve food.
The jar has a wide mouth with a screw thread on the outside which accepts a metal ring or “band.” When screwed down, the band presses a steel disc-shaped lid against the rim, forming an airtight seal.
The bands are reusable, but the lids are for single use only when used for canning, so be careful to separate your old lids from the new ones.
Top Tips For Sterilizing Mason Jars
Sterilizing jars for canning can seem like a tiresome task, but, as we have learned, it is a crucial part of the food preserving process. Here are our top tips to make this job a little easier for you:
- Clean your countertop or surface area that you will be working on before you sterilize your jars. You do not want the sterilized jars to pick up any contaminants from a dirty work surface!
- Only use clean dish towels for the job
- Sterilize more jars than you think you are going to use – just in case!
- Leave the sterilized jars in the sterilizing solution until ready to use to prevent any further contamination.
- Check the sealing bands. Do not use them if they are old or cracked as they will not form a tight seal around the lid of the jar and allow bacteria to get into the jar.
- Avoid cracking and damaging the jars by only adding hot food to hot jars, don’t add hot food to cold jars.
Conclusion
Although there are various ways to preserve your foods for later consumption, the best way by far is canning. With sterilizing your jars correctly before filling them, you will be able to eat your favorite, tasty, preserved foods out of season.
Resources
- https://www.countryliving.com/food-drinks/a5204/new-canning-guidelines/
- https://www.simplycanning.com/canning-methods/
- http://www.canning-food-recipes.com/canning.htm
- https://thehomesteadinghippy.com/how-to-sterilize-jars/
- https://www.motherearthnews.com/real-food/how-to-preserve-food-zm0z71zsie
- https://en.wikipedia.org/wiki/Mason_jar
- https://www.tngun.com/water-in-a-pressure-cooker/
- https://besthomepreserving.com/best-canning-jars-for-home-preserving/