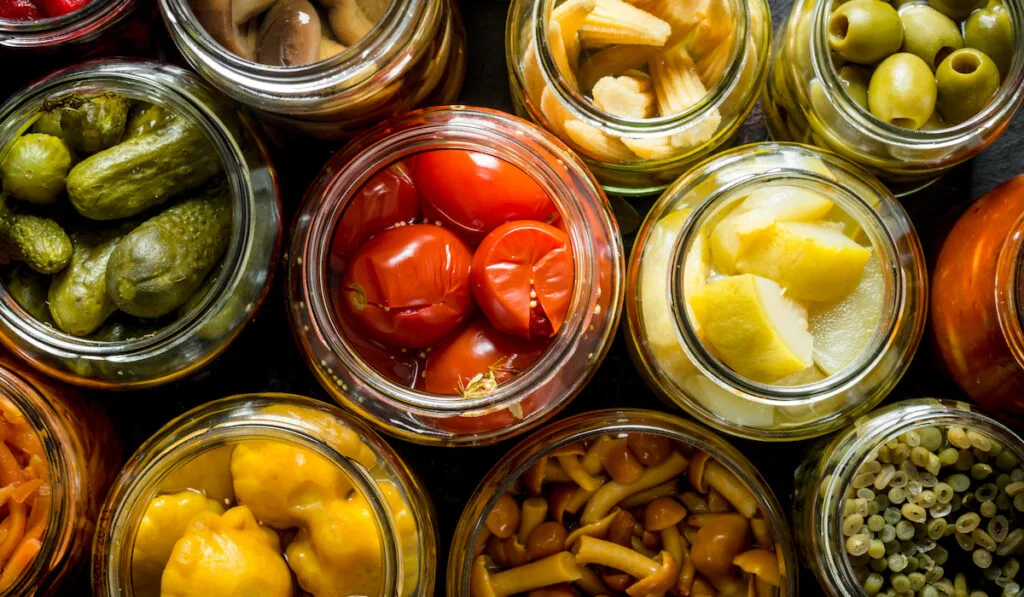
Imagine having unlimited access to fresh vegetables from your kitchen garden all year round. Well, not only does canning make this possible, but it is also a fun and thrifty way of preserving the flavor of your fresh produce at its peak.
Canning preserves foods for extended periods, which raises safety concerns and why you should not rely on handed-down canning recipes.
Instead, you should follow tested procedures to guarantee maximum safety and high-quality preservation of your canned produce.
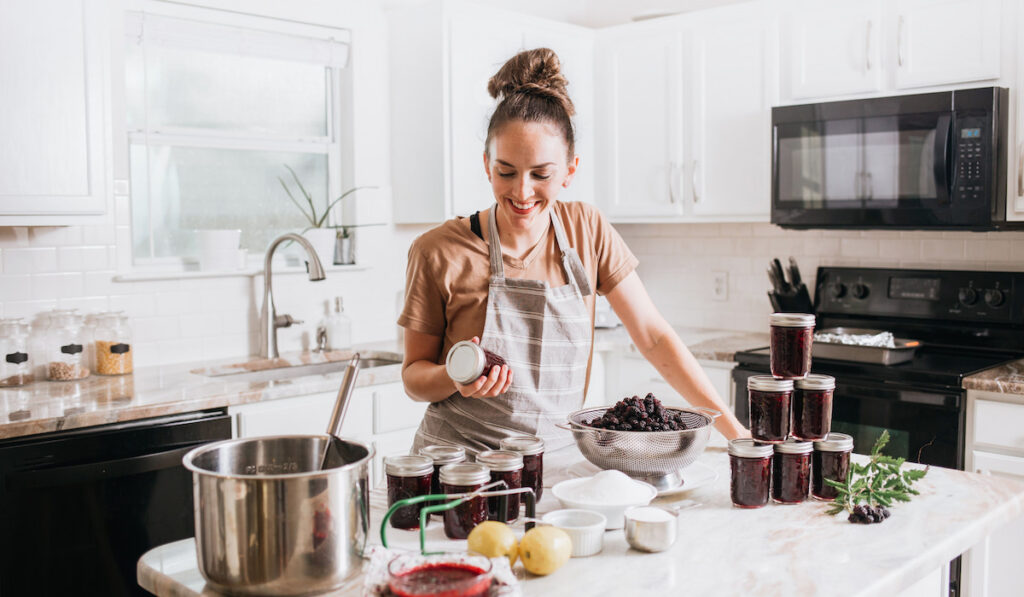
Read on to learn more about canning at home.
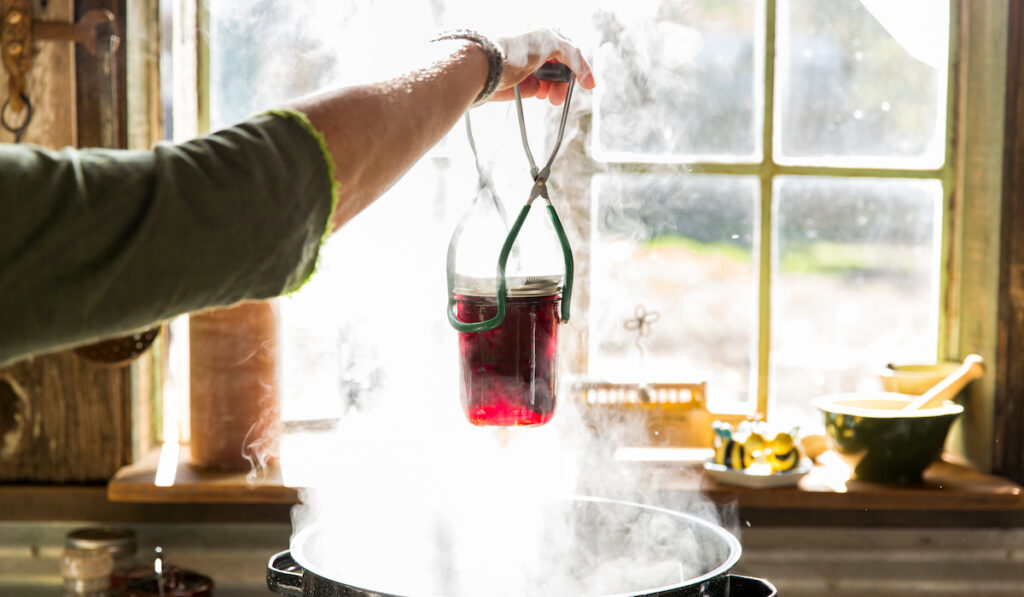

Table of Contents
What Is Canning?
Canning is a preservation method that entails bottling fresh produce in jars under high temperatures to inactivate enzymes and kill microorganisms that would otherwise spoil food.
The heating process expels all the air from the jars, which in turn creates a vacuum seal as they cool. This lack of air prevents mold, bacteria, and yeast from growing, which guarantees that the canned food will not spoil.
Why Should You Consider Canning?
Essentially, canning enables you to capture the freshest flavors during season peaks so you can enjoy them all year round even when they are not in season.
This means that you can enjoy the taste of fresh homemade tomato sauce on pasta or blueberry jam on a warm scone on the coldest day of winter.
What’s more, canning also helps preserve quality.
In addition to killing harmful microorganisms and deactivating enzymes, the heat applied during canning also creates a vacuum that ensures that the microorganisms do not enter when the food is in storage.

Common Methods of Canning
The three main methods for safely canning your fresh produce at home are:
- Pressure canning
- Water-bath canning
- Steam canning
The acidity levels of your produce dictate which of these canning methods you will use — that is, the pH level of whatever produce you hope to can.
Foods with a high acid level can be processed by either steam, pressure or water canning while less acidic foods can only be processed using the pressure canning method.
This is because pressure canning prevents the toxins and bacteria present in low-acid foods from surviving.
That being said, how can you be certain which of your produce is highly acidic, and which is less acidic for proper canning?
Well, with the pH of 4.6 being the central point, consider anything higher than that as a low-acid food and a pH less than 4.6 as a high-acidic food.
In other words, the lower the number on your pH scale, the higher the acidity and vice versa.
Here is a rough representation of low- and high-acidic foods and their appropriate canning methods.
| Pressure Canning (Less-acidic foods – more than pH 4.6) | Water Bath Canning (Highly acidic foods – less than pH 4.6) |
| Soups | Salsa |
| Poultry | Jellies |
| Vegetables | Jams |
| Stews | Pickled vegetables |
| Meat | Fruit juice |
| Seafood | Acidified tomatoes |
| Combination sauces (High and low acid components) | Fruits |
Pressure Canning

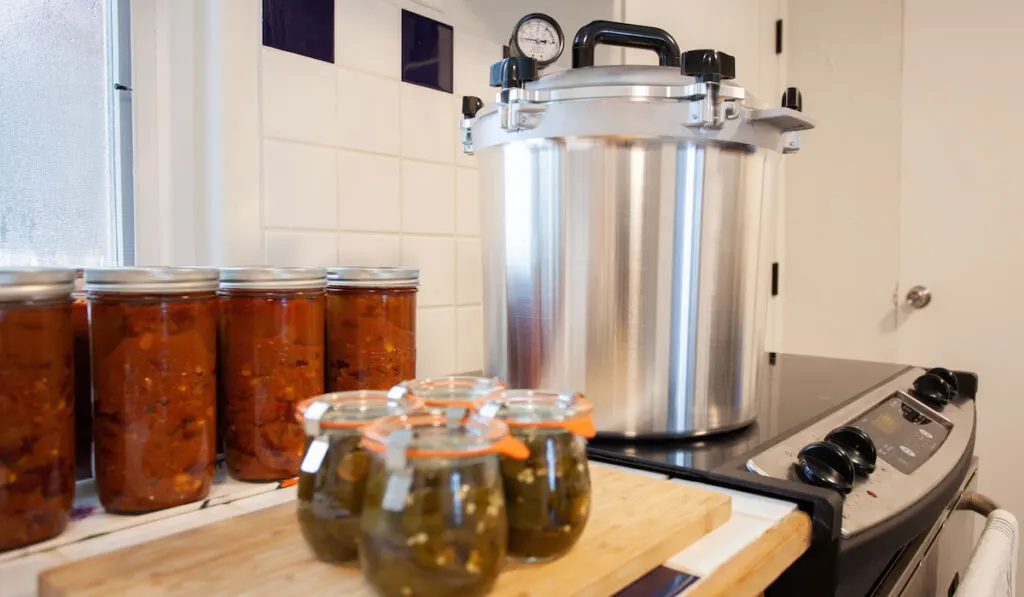
As the name suggests, pressure canning entails using a pressure cooker to achieve the needed amount of pressure for safe canning. It features a deep pot with an insertable rack and a lid that is fitted with a pressure valve and dial.
These allow high pressure to build up allowing the internal temperature of the canner to reach a high of 115℃ at sea level, which otherwise would be impossible to reach when water-canning.
A temperature of 115℃ will suffice at killing any yeast, mold, or enzymes present in your food since these agents die when exposed to temperatures above 100℃ — the boiling point of water at sea level.
Bacteria, on the other hand, do not die easily. For instance, the Clostridium botulinum bacterium produces poisonous spores that, unlike mold, can survive at 100℃ and thrive naturally on less acidic foods without air.
As such, the only way to guarantee that low-acid foods are properly canned and safe for human consumption is by processing them at 115℃, which can only be achieved through pressure canning.
Some of the vegetables that you preserve using the pressure canning method include:
- Artichokes
- Green beans
- Asparagus
- Corn
- Carrots
- Lima beans
- Okra
- Mushrooms
- Onions
- Winter squash
- Potatoes
- Pumpkin
- Peas
- Chili
Less acidic fruits, on the other hand, include:
- Coconuts
- Bananas
- Figs
- Watermelons
- Cantaloupes
- Papaya
- Stone fruits
You can still preserve your low-acid vegetables and fruits through other preservation methods if you do not have access to a pressure canner.
For instance, green beans, corn, and broccoli freeze well and even have a better taste and texture. You only need to briefly blanch them and then shock them in ice-cold water before freezing them in freezer bags.
Remember to make the necessary adjustments to pressure if you are at altitudes higher than 1000 feet.
Water Bath Canning
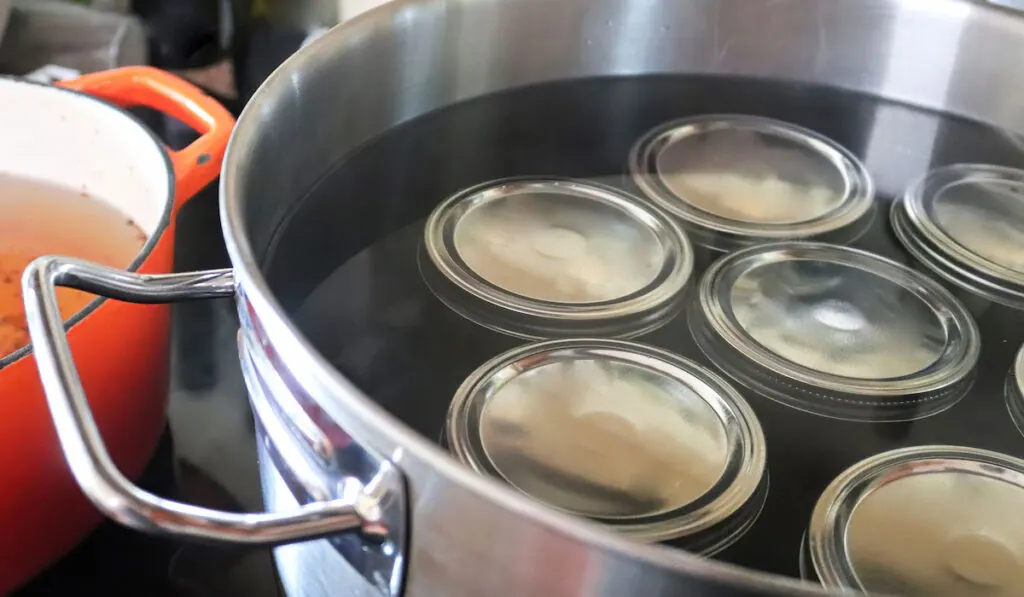
Unlike pressure canning, water-bath canning does not require any pressure build-up and, therefore, doesn’t require any specialized equipment — a deep pot that is large enough to hold your glass jars and rack will suffice.
That being said, there is equipment specifically designed for water-bath canning. It includes a deep pot, a rack, and a lid.
Since water-bathing canning works at a lower temperature of 100℃, it is only ideal for highly acidic fruits and vegetables.
This is mainly because this high acidity coupled with at least 10 minutes of processing or boiling in a water-bath canner is enough to safely preserve these foods.
Keep in mind that the processing time in recipes is usually developed for altitudes of up to 1,000 feet.
Any altitude higher than that means that your water will boil faster or at a temperature below 100℃, hence the need to process your food longer.
Steam Canning

As the name suggests, this canning method utilizes steam for food processing.
Steam canning happens when the heat in an atmospheric canner pushes out the air and the remaining hot steam transfers heat to the food that is being canned.
The steam is usually at 100℃, hence the reason why the food processing time in a steam canner is similar to that in a water-bath canner.
Keep in mind, however, that any food with a processing time of more than 45 minutes cannot be processed using a steam canner as it risks boiling dry.
Also, like with the other two canning methods, you will need to adjust the processing times for altitudes of 1,000 feet.
Canning Supplies
Here are a few must-haves for every successful home canning endeavor:
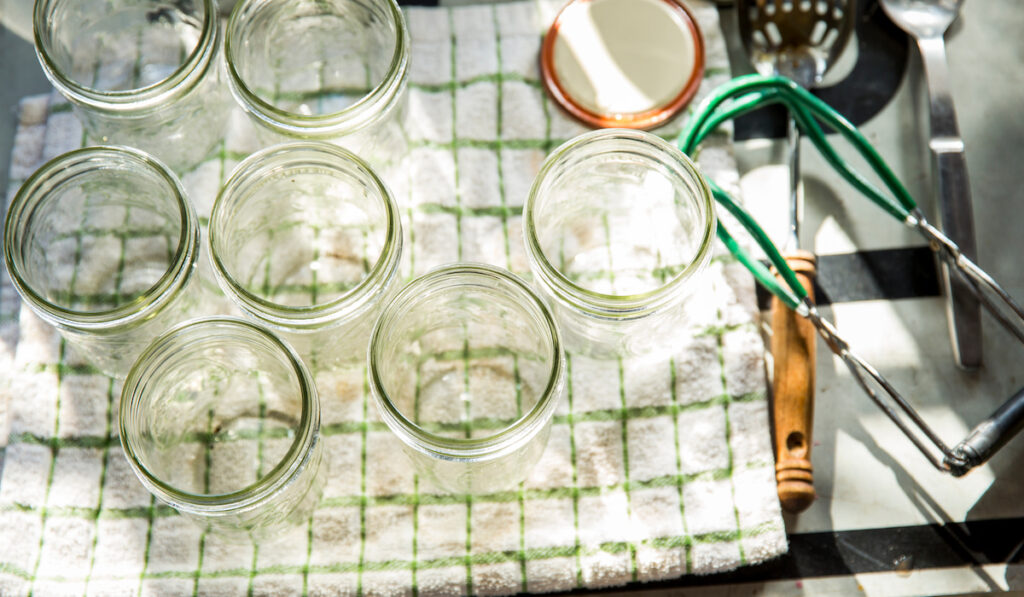
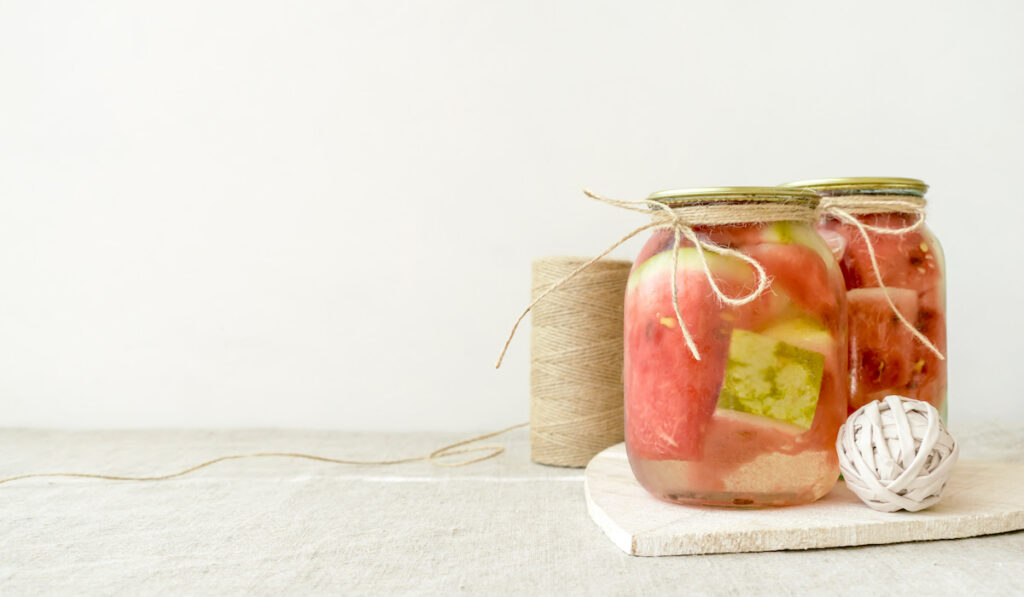
Mason Jars

Mason jars are highly recommended for all your home canning jar needs. Their tempered glass material is durable and is designed to withstand the high temperatures associated with canning.
Most home canning recipes are developed for quart and pint mason jars, but they come in an array of sizes. The size you choose depends on the amount and types of food you are canning.
| Mason Jar Size | Ideal or Common Use |
| Quart | Great for large quantities of food. |
| Half pint | Commonly used for jellies and jams. |
| Half Gallon | Recommended for juices. |
| Pint | Great size for an average amount of pickled vegetables. |
| Pint and a half | Functional size for canning long vegetables like carrots or asparagus. |
Additionally, mason jars also come in different-sized mouths. Regular mouth jars have smaller openings than wide-mouth jars but are still handy for your fruit, meat, and vegetable canning needs.
Wide-mouth jars are, however, much easier to fill, especially when you are canning chunky foods.
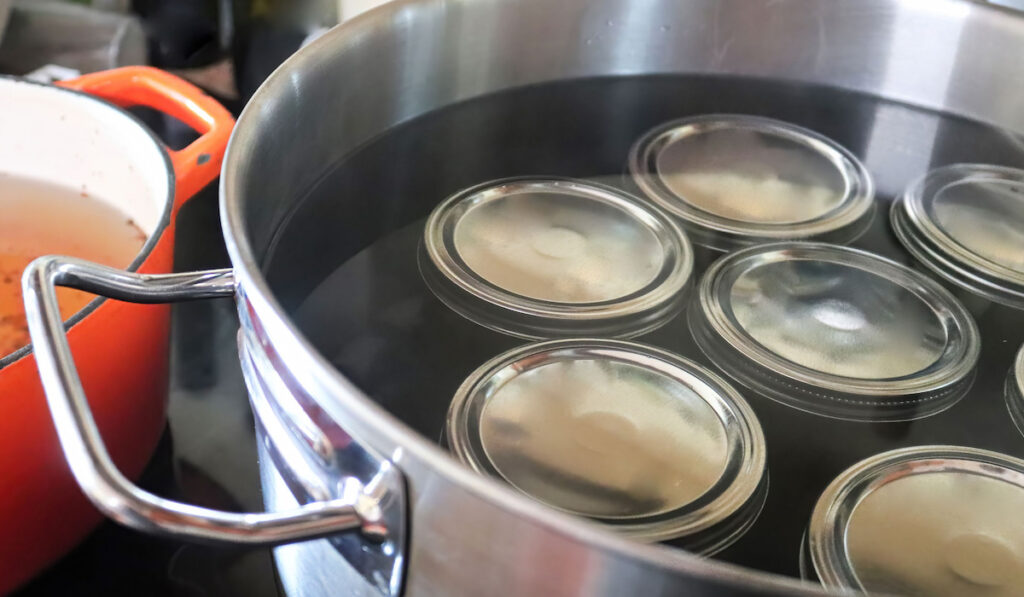
Mason Jar Lids and Rings
Canning jar lids and screw bands are a dual-part system.
New mason jars come with lids and rings, but recommended lids are essentially flat disks that feature sealing compounds around their edges. These come coupled with separate metal rings.
Mason jar lids are the essence of canning in that they help create the vacuum seal that helps preserve food due to the lack of oxygen.
That being said, you cannot reuse your lids — they are only viable for the period they are preserving food, after which they must be replaced.
Thankfully, mason jars have a universal thread design that fits all rings. Unlike the lids, the screw bands are reusable as long as they are not rusted or broken.
Canning Funnel
As the name suggests, a canning funnel offers a seamless jar-filling process. It is especially handy when you are trying to fit chunky food pieces through a regular mouth jar.
Ladle
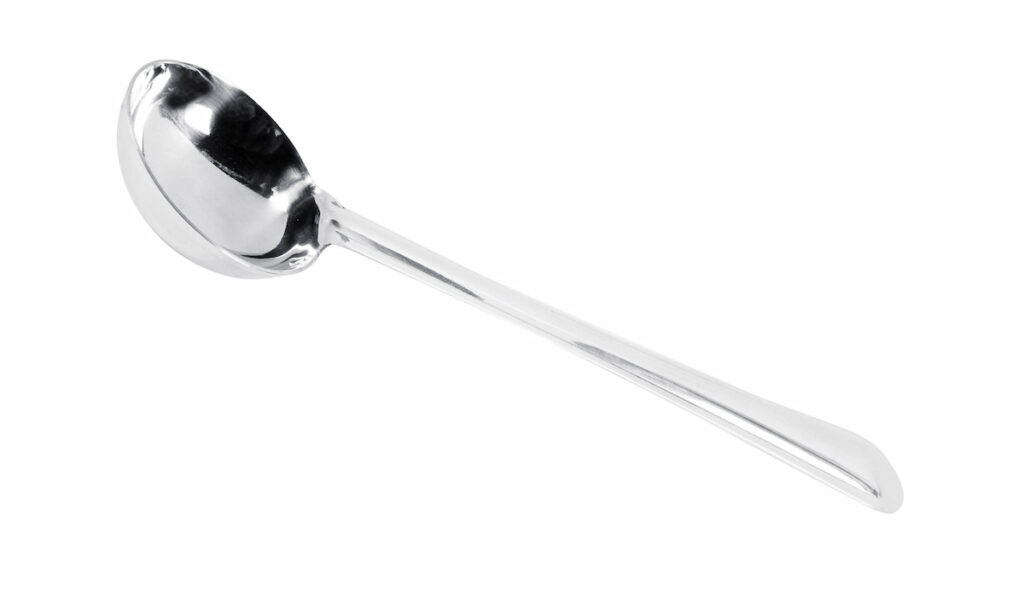
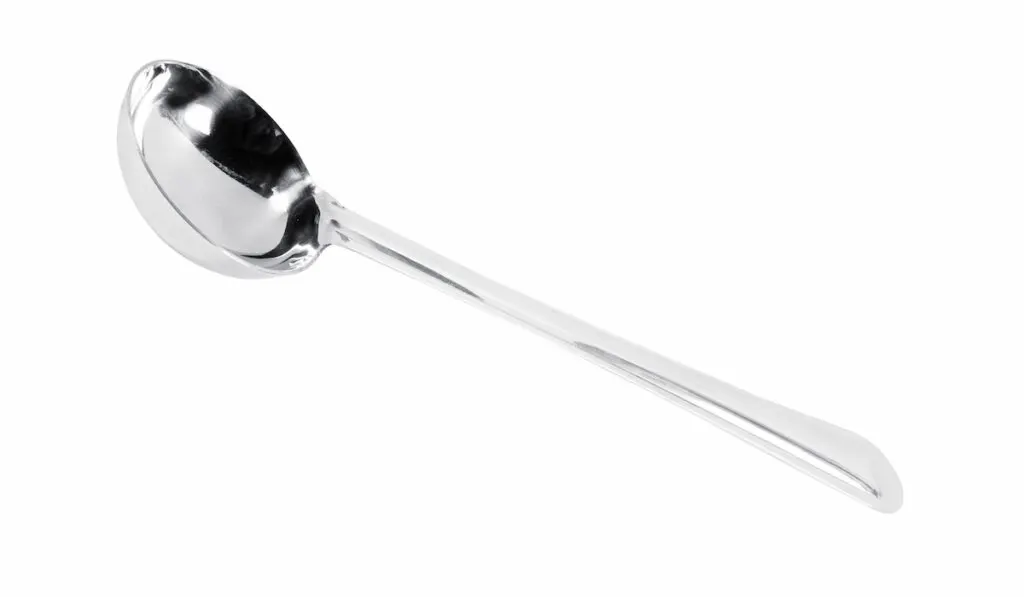
Like the canning funnel, a ladle allows you to effortlessly fill your jars for processing.
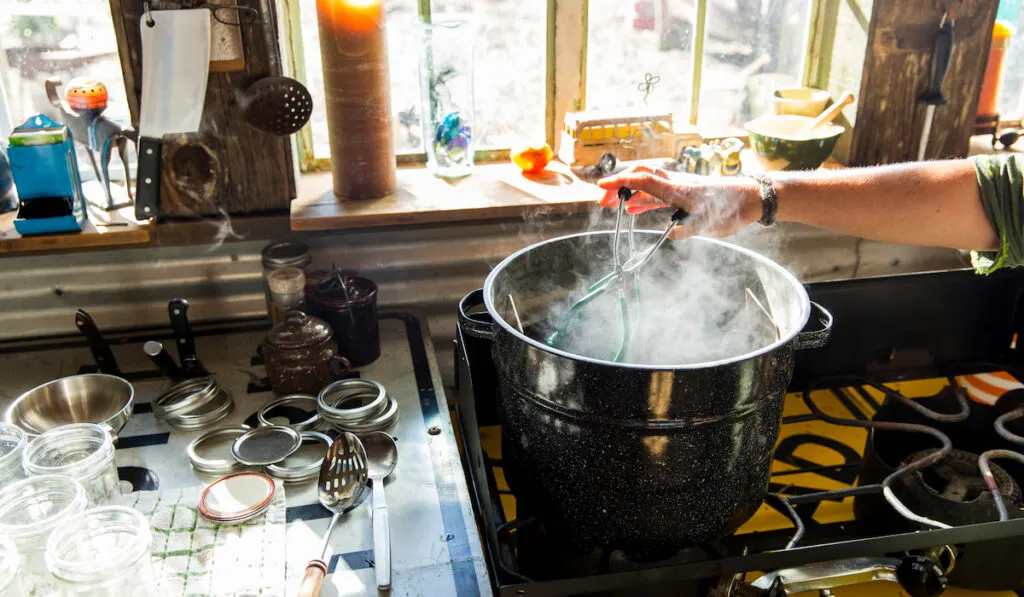
Jar Lifter
Jar lifters are large tongs that allow you to carry and place your hot canning jar into your pressure or water-bath canners and out after they are fully processed.
Pressure Canner, Steam Canner, or Water Canner
Pressure canners share a striking resemblance with pressure cookers except for the dial gauge.
Even so, you should avoid the temptation of using them in place of canners made specifically for pressure canning for safety reasons.
Water-bath canners, on the other hand, are not a must-have as long as you have a large enough pot to fully submerge jars and have at least 2 inches of water above them.
You should also have a fitted lid for the pot and a rack that perfectly fits inside the pot. Investing in a water-bath canner might be an easier option for you if you cannot find all these components or if you can food frequently.
The conventional steam canner features a 3-inch-high base with a rack insert to keep your canning jars above the water and a high dome cover with one or two steam vents. Some models may also feature a pressure gauge.
Unlike the water-bath canner, a steam canner is a must-have if you plan on steam canning — you cannot make do with utensils in your kitchen.
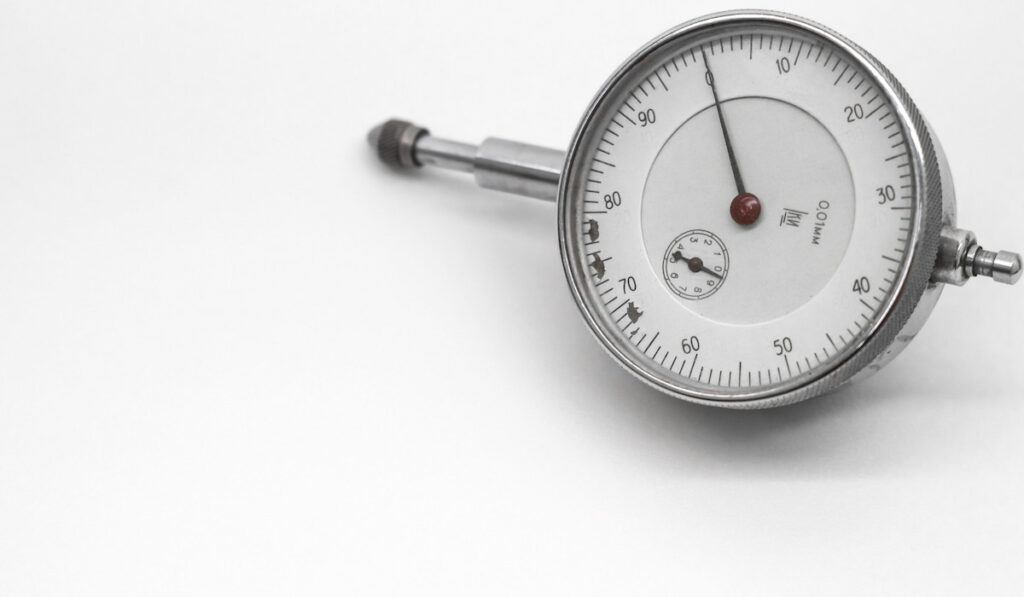
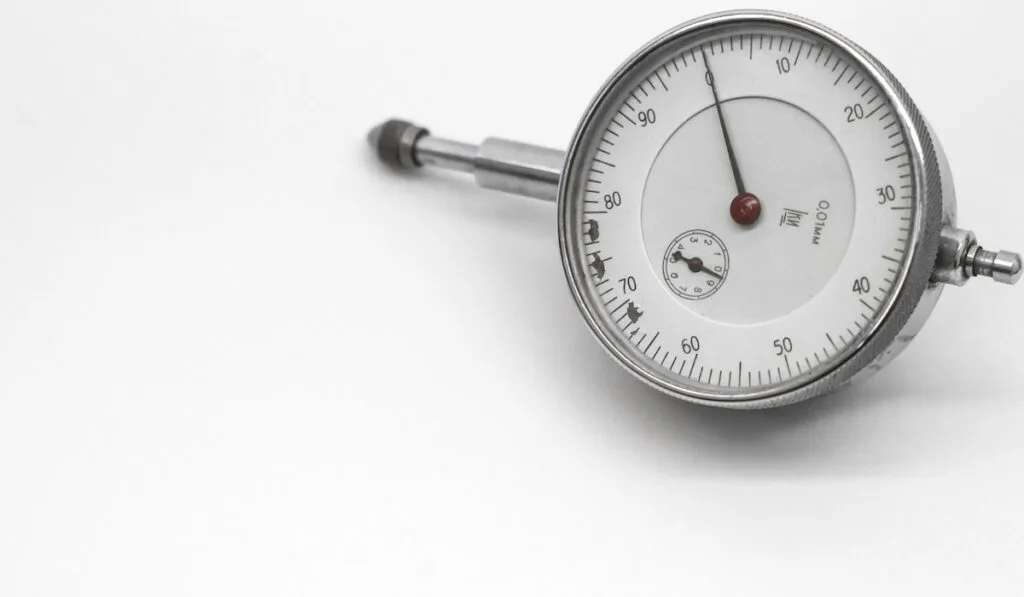
Dial Gauge Testing
To guarantee the maximum safety of your canned food, it is advisable to test the dial gauges on your pressure canners and steam canners annually for accuracy.
You can contact any Penn State Extension office and enquire about testing times and locations and times for testing. Thankfully, these tests are free and only take a few minutes.
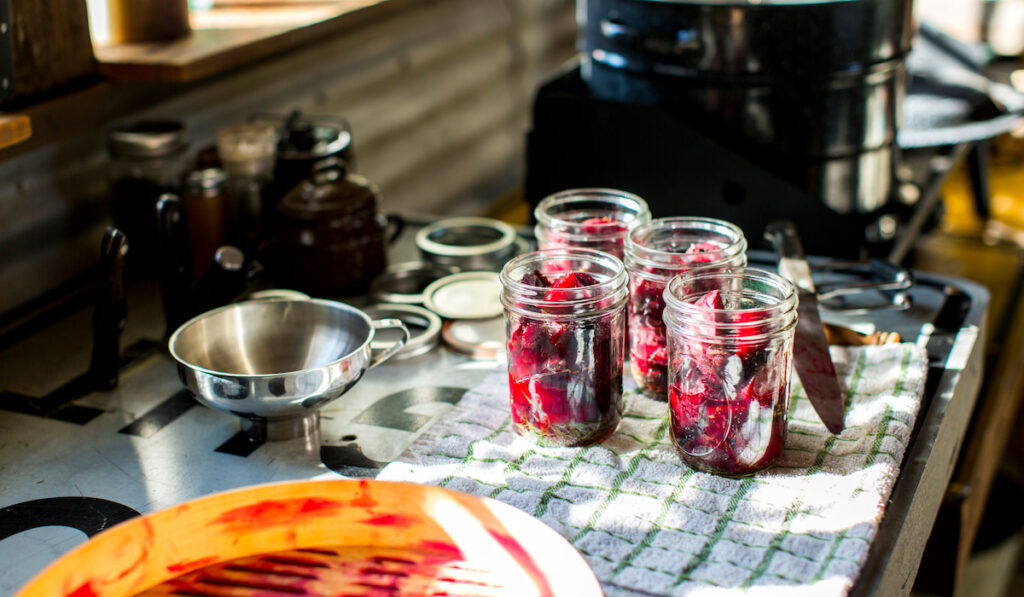
Hot Pack vs. Raw Pack
When canning food, you can either pack your canning jars with hot or raw food. It is, however, important to note that raw packed foods often float in mason jars and are at the risk of discoloring within 2 or 3 months.
Hot packing, on the other hand, entails briefly boiling your fresh food and loosely filling your sterilized or preheated jars with the food and liquid mixture.
Doing this shrinks the food by eliminating air from the food tissues. As a result, the food does not float or risk discoloration during storage. Shrinking the food also allows it to fit easily into your canning jars.
Determining the Right Headspace
Headspace is the air-filled space between the top of your food and the lid. Leaving too little traps food between the lid and jar which leads to an improper seal.
Too much headspace, on the other hand, leads to underprocessing since it will take more than the recommended time to release all the air from the jar.
It can also lead to a weak vacuum effect and ultimately a weak seal.
This is why it is paramount to follow tested recipes as they will give the adequate headspace needed.
Here are some recommended headspaces for various foods:
| Food Type | Recommended Headspace |
| Jams, jellies, and juices | ¼ inch or 6mm |
| Pickles, tomatoes, and fruits | ½ inch or 13mm |
| Vegetables, meat, poultry, and seafood | 1 to 1½ inches or 2.5 to 3.8cm |

Testing for a Proper Vacuum Seal
After cooling your processed canning jars for 12 to 24 hours, check for a proper vacuum seal by pressing the center of the lid to check for any bulging or concave movement.
If the lid centers do not pop up and down upon pressing, or the lids are impossible to lift after removing the screw bands, you can rest assured that your jars have a proper and safe vacuum seal.
Storing Canned Foods
First, wash your processed jars. For this, you will need to remove the rings. This should not be a problem because properly processed jars do not require the rings to keep the lids in place.
What’s more, the rings can easily rust when left in storage for prolonged periods, and this can break the seals.
Next, you will need to label the jars by date and batch number in case you intend to process several batches in a given day.
The last process in canning your food is to store your processed stockpile in a cool, dark, and dry place. A temperature of 50°F and 70°F (10°C to 21°C) is ideal for canned goods storage.
To ensure your jars do not have contact with direct light, you can store them in boxes whenever you do not have access to closed cupboards.

Canned Food Spoilage
The main reason for canned food spoilage is insufficient processing times or not reaching the required temperatures to destroy or inactivate microorganisms — that is bacteria, yeast, and mold.
As earlier mentioned, yeast and mold are easily broken down by heat during processing.
Failure to do this means mold can grow inside the jars and yeast may cause fermentation by reacting with sugar in the foods.
Luckily, yeast activity is easily recognizable by gas bubbles, slime, or murkiness.
Unfortunately, bacteria are not visible to the human eye, and food may not have any warning signs of bacterial infestation. Due to this, it is paramount to practice the recommended processing methods for the right types of food.
Also, since bacterial poisoning can be fatal, refrain from tasting canned products you suspect might be spoiled.
Similarly, when not properly deactivated, enzymes can cause unwanted changes in texture, color, and flavor. To avoid this, add ascorbic acid to your holding water and blanch your produce as fast as possible after preparation.
Luckily, enzymes are easily deactivated at temperatures between 168°F and 188°F (76°C and 87°C).
Here are a few ways in which you can reduce or prevent food spoilage:
- Sterilize your canning jars for at least 10 minutes.
- Use high-quality produce.
- Process your produce immediately after harvest.
- Use the proper canning methods for various foods.
- Use tested recipes and adhere to them.
- Adjust pressure and processing times for elevations higher than 1,000 feet.
- Thoroughly wash your produce.
- Exercise high hygiene standards when canning.
Crucial Temperatures to Note When Canning
| 212°F or 100ºC | The boiling point of water at sea level and the recommended processing temperature for highly acidic foods in a water-bath canner and steam canner. |
| 240°F or 115ºC | The recommended temperature for pressure canning to sufficiently kill bacterial spores present in low-acid foods. |
| 168-190°F or 76-87ºC | The temperature at which heat breaks down enzymes. |
| 180-212°F or 82-100ºC | The ideal temperature for destroying yeasts, molds, and some bacterial cells. |
| 140-180°F or 60-82ºC | The temperature at which mold, bacteria, and yeast growth is inhibited. Some microorganisms can, however, still survive. |
| 40-140°F or 4-60ºC | Active temperature range for bacteria, yeast, and mold growth. |
| 50-70°F or 10-21ºC | Ideal temperature range for storage of home-canned and dehydrated foods. |

General Canning Tips and Guidelines
- Canning is not meant for overripe vegetables or fruits — always can your produce when it’s the freshest.
- Only use mason jars for canning as they are designed to withstand high temperatures better than single-use containers.
- A bulging lid, broken seal, or rusty lid are all signs that air has re-entered the vessel and could mean spoilage.
- Burst air bubbles in the jars with a plastic utensil. Do not use metallic. Metallic utensils can react with the jar contents which can lead to undesirable residue tastes.
- Clean the mouths of your jars with a clean damp towel to allow the lids to seal properly.
- Your screw bands should only be finger-tip tight.
- Sterilize and preheat your mason jars before use. Preheating ensures that the jars do not crack when filled with hot food.
- Avoid turning the jars upside down after processing.
- Place your jars at least 2 inches apart on a kitchen towel to cool after processing.
As you can now see, canning entails more than just storing food stuff away in containers.
It comes down to finding the freshest and adhering to recommended canning procedures to safely process it.
It is an invaluable step towards self-reliance that you now understand.
Resources:
- https://www.healthcentral.com/slideshow/low-acid-fruits-acid-reflux
- https://extension.psu.edu/how-to-use-an-atmospheric-steam-canner
- https://extension.psu.edu/lets-preserve-basics-of-home-canning
- https://rootsandrefuge.com/how-to-start-home-canning-101/
- https://www.ballmasonjars.com/canning-and-preserving-101.html
- https://www.gopresto.com/content/s/canning-introduction
- https://www.almanac.com/canning-for-beginners
- https://homefamily.net/introduction-to-canning-foods/
- https://www.finegardening.com/article/introduction-to-canning