If you have been using your air fryer for a while, you might be wondering whether you need to get it cleaned. After all, we clean every other gadget in our kitchens, especially when we use them to prepare food.
So, how do you clean an air fryer?
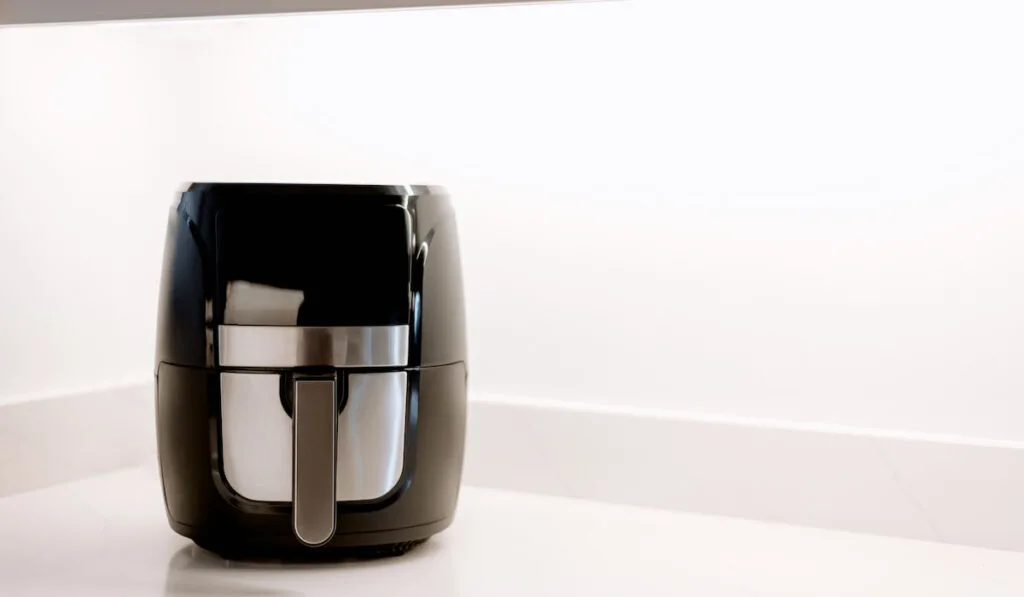
In general, you will need to clean an air fryer as soon as it has cooled down after being used. You should use hot, soapy water and a soft, non-abrasive cloth to avoid scratching it.
We’re going to look at the top hacks for efficiently and effectively cleaning an air fryer.
Table of Contents
Hack One: Wash Regularly
You should try to wash the removable parts after every single use.
That means that the pan, the basket, and the tray need washing.
You should wait until they have cooled down, so eat your food first and then clean up afterward.
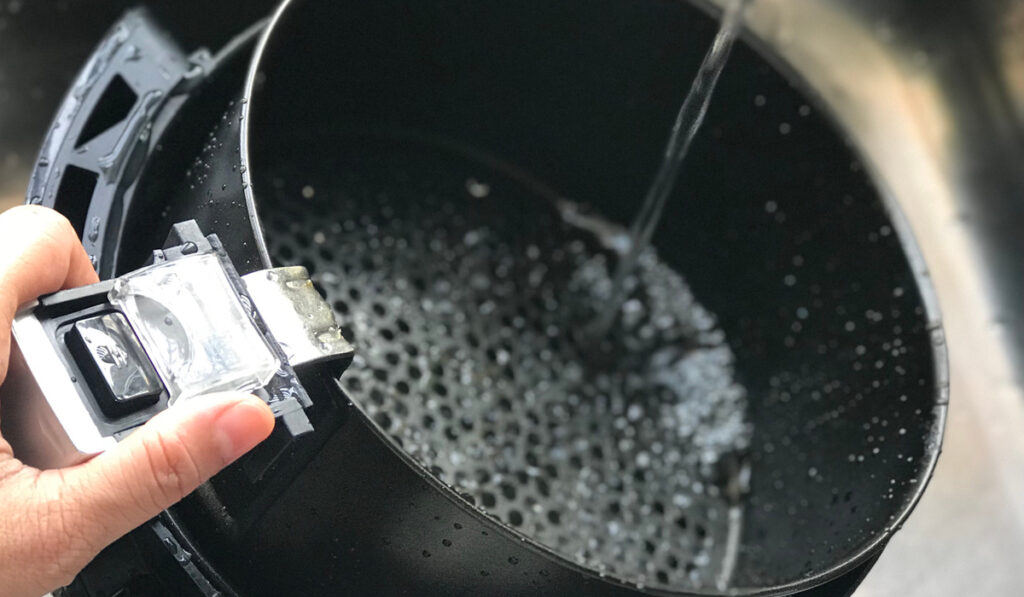
Simply submerge them in a sink of soapy water and use a non-abrasive cloth to clean each part. Make sure you remove all greasy residue, or this will get baked on the next time you use the fryer.
Hack Two: Soak Thoroughly
If you find that any parts of the fryer are hard to clean, soak them instead of scrubbing them. Put them into the hot, soapy water and leave them for about thirty minutes to an hour.
This will give the water time to loosen and soften the grease. You should then be able to remove it with your cloth, rather than having to scrub at it. If you find that the food is still hard and firmly stuck, put it in some fresh hot water, and soak it again.
You can soak the parts overnight if necessary to soften burned-on food.

Hack Three: Do Not Scrape
It may be tempting to scrape your air fryer parts with a knife or an abrasive tool, but you shouldn’t do this. Air fryers come with a non-stick coating, and as soon as you scratch this off, you make all future foods far more likely to stick to the scratches.
You want to protect your non-stick coating for as long as possible, and this involves not using any abrasive tools – however gently – to clean your air fryer. Once you have scratched the coating, there is no way to repair it, and it will make all future cooking and cleaning very much harder.
It is also possible that scratching the coating on the air fryer components could lead to your food coming into contact with bits of the metal that are unsafe, so do exercise caution.
Soak stubborn food, rather than scraping your fryer’s components.
Hack Four: Use Your Dishwasher
Many air fryers have been designed to allow the removable parts to be placed in a dishwasher. However, it is crucial to check this in your manual before you do it, as not all air fryer parts are dishwasher safe.
Note that even if yours is dishwasher safe, this only applies to the loose parts such as the tray, basket, and pan. Don’t put the whole air fryer in your dishwasher.
If your air fryer does not say that it is dishwasher safe, stick to handwashing so you don’t risk damaging its non-stick coating. This is safer, as dishwashers are quite abrasive.
You may find that handwashing helps your air fryer parts to last for longer even if they are dishwasher safe, so only use the dishwasher if you’re short on time. In general, it is better to hand wash these components.
Hack Five: Use Lemon Juice
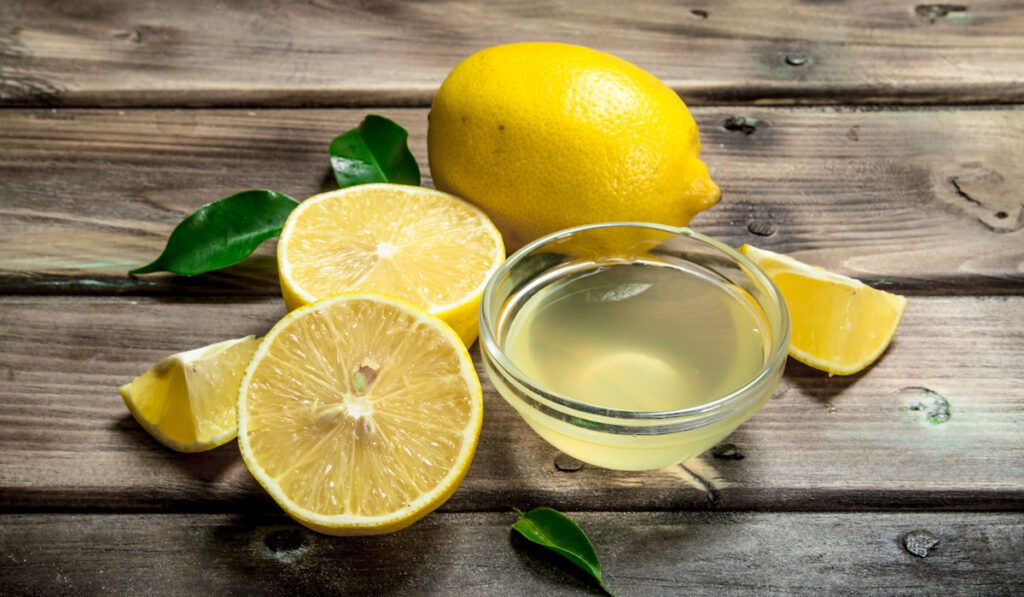
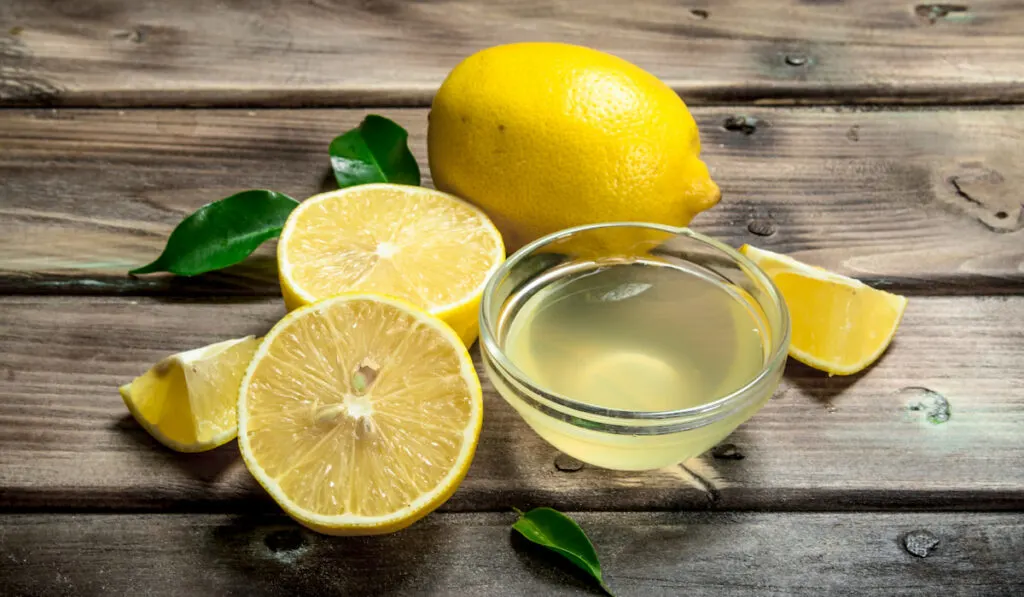
If you can’t get a particularly stubborn smell to shift and you don’t want to soak the components for hours, try using lemon juice.
Simply take a slice of lemon and rub it all over the basket (or other components). The acid should help to break down the grease and remove odors. Squeeze the lemon slice lightly to get the juice flowing.
Allow this to sit for about twenty minutes, and then wash the component in hot, soapy water again. This should have neutralized any lingering odors, leaving your machine fresh and ready for the next use.
Hack Six: Wipe Down the Machine
Every so often, you will want to wipe down your air fryer as well. To do this:
- Unplug the machine and make sure that it is cold.
- Use a lightly damp and soapy cloth to wipe the front of the machine. Make sure the cloth is not sopping wet; minimal water should come out if you squeeze it.
- Check the heating coil. If this has oil splashes or food residue on it, wipe it down with your cloth, or it will smoke next time you use it.
- Leave your air fryer disassembled while everything air dries thoroughly.
You should aim to do this every couple of uses or so. Remember, regular cleaning means easier cleaning because food has less time to bond to the machine.
Hack Seven: Deep Clean Occasionally
Sometimes, your air fryer will need a more thorough clean. Again, make sure it is unplugged and cold before you start.
- Mix together a little baking soda and water so that you have a paste.
- Use a toothbrush to scrub the inside of the machine gently.
- Allow the baking soda to sit for about ten minutes, and then lightly scrub again. It will neutralize odors and loosen any stuck food.
- Use a clean, damp cloth to wipe down the inside of the air fryer, removing all baking soda.
- Leave the air fryer to fully dry before reassembling it.
This should remove any food residue that has built up inside the air fryer. Crumbs are bound to escape and fall inside at times, so do this whenever you think the interior is looking a bit greasy and unpleasant.
Remember, don’t put any metal tools or abrasive sponges near your air fryer!
Conclusion
Cleaning an air fryer using these hacks should be simple and straightforward. If you always give it a quick clean after using it, you’ll find that deep cleans are rarely needed, and your air fryer’s components should stay in better condition. This lengthens the lifespan of your product.
Resources
- https://www.tasteofhome.com/article/how-to-clean-an-air-fryer/
- https://www.cookinglight.com/cooking-101/air-fryer-basket-cleaning-hacks
- https://snact.co.uk/how-to-clean-an-air-fryer/
- https://www.everydayfamilycooking.com/how-to-clean-air-fryer/